Recently I’ve seen a handful of questions in a variety of locations from businesses and individuals looking to take their expertise, and launch an online course.
I know this can be an intimidating process, and it absolutely is a robust undertaking – but I recorded this video with the goal of adding some structure to a process that might otherwise feel ambiguous.
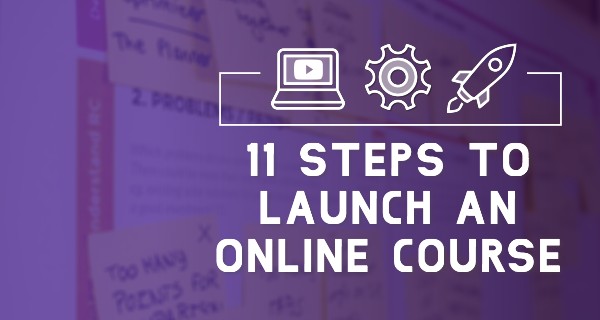
How to launch an online course
Before you watch the video – I need to call out that this is not intended to be a comprehensive all-encompassing resource.
My goal with this video, and the following blog post, is to help you contextualize what it actually takes to launch a course (spoiler: it’s not easy).
That said, this video should help point you in the right direction, and raise some questions that will be important to think through. Enjoy.
Step 1: What problem are you solving?
You may already have a topic in mind for your course, but I would challenge you to think of it in terms of what this topic is valuable to people.
Does it solve a problem for them? Is that problem one people care about? Does it teach a skill? How will people use that skill?
Step 2: Define your avatar
Before you build the course content, it’s important to get crystal clear on the avatar – or avatars you expect this course to serve.
You might find that the content is resonating with folks who aren’t your avatar, and that’s fine, but getting clear on who the course is intended to serve will allow you to speak directly to them in the course content (and in any promotional messaging).
Step 3: Design the course outline
Once you know what you are teaching, the next step is to decide how you will teach it. Put another way – you’re designing the path that will take them from point A, to point B.
So, think about where you want someone to be when they complete the course – and then identify the milestones they would need to hit in order to get to that destination. Then, fill in the gaps with the different things they need to know in order to reach each milestone.
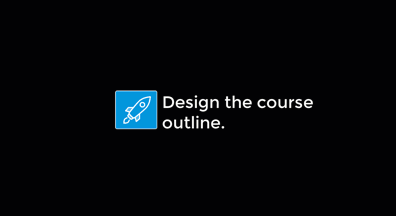
Try to be as specific as possible in this stage – so that nothing gets missed. And once you have a comprehensive list of things that need to be covered – you can organize them into topics that naturally fit together. The groupings can then be organized to form your larger course structure (and your outline for recording).
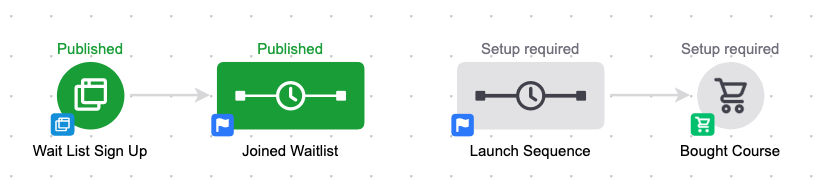
Step 4: Design the wait list and launch strategy
This step may feel out of order, but once you have the outline in place I recommend building a simple landing page where people can opt in for your wait list.
The reason I recommend doing this early in your process is so that you can talk about the course while you’re creating it, build interest with your audience, and give the folks who are interested a place to sign up and get notified when it comes time to launch.
Step 5: Record and edit course content
I know, this is a big one. But we also have a tendency to make this step harder than it needs to be – so, try not to get in your own head.
You’re creating the first version of your course – there will always be things you want to improve, or add to it.
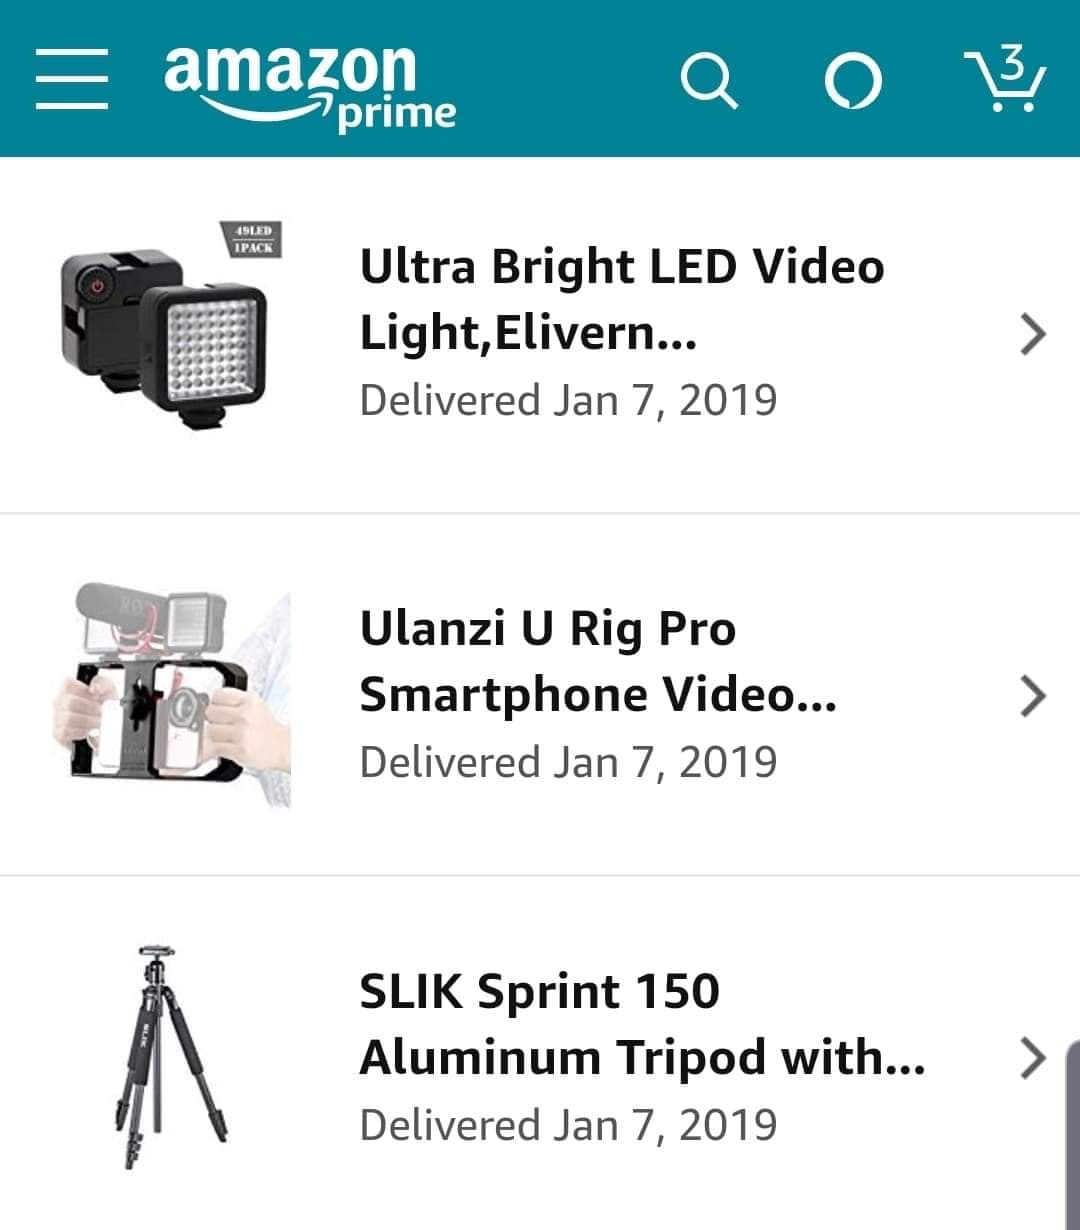
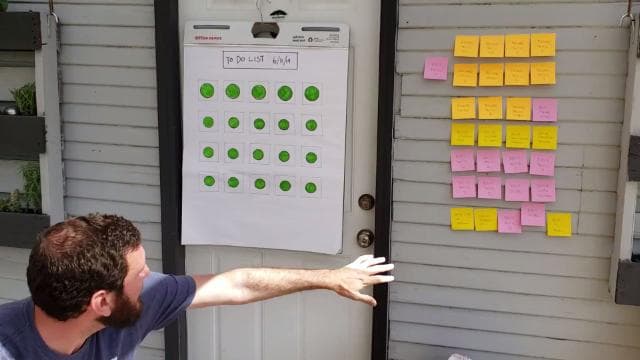
My recommendation here is to think light and lean – I record most of my content (including the video above) on my Samsung Galaxy, using the tripod, cell phone holder, and lights pictured here.
For a long time I just recorded audio with the cell phone itself, but lately I’ve started using a simple lapel mic that plugs into the aux port on the phone. Then, I upload to google drive, download onto my computer, edit in Camtasia, and export as an mp4 file.
Step 6: Map out course delivery and fulfillment
Once you have your content recorded and edited, it’s time to shift your focus to how you’d like your customers to experience.
There are an infinite number of ways to structure your course, so I recommend drawing on examples from courses you’ve taken, or that you’ve seen. Will your videos be laid out in a grid, or will they be hosted one per page – will there be objectives for people to complete, or quizzes baked into the content – will they have access to the entire course at once, or will the modules be drip released.
There isn’t a right or wrong answer here – but the clearer you can get on what you’d like them to experience, the easier it’ll make the next step.
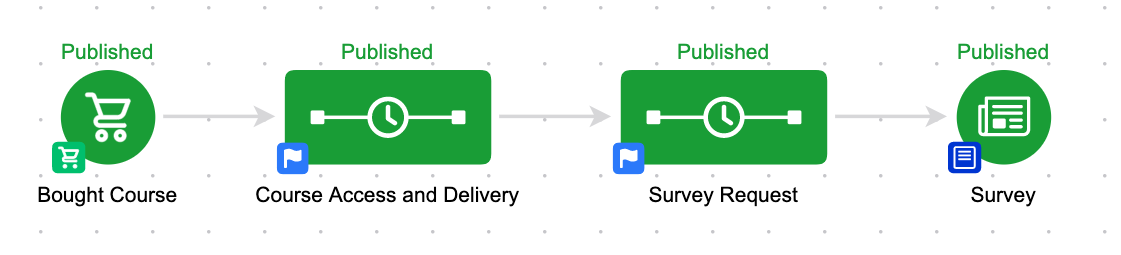
Step 7: Build site and automation
Again, this is a big one. There are experts who specialize in this part of the process, so if you’d like to work with a strategist just let me know and I’ll make some recommendations for you.

But here’s what I’ll say – I use and endorse AccessAlly, which is a wordpress plugin. I have found it to be robust and flexible (here’s why I chose it). Recently I worked on a project launching a course using Kajabi – and honestly, I was impressed with that platform as well. Kajabi wasn’t as powerful as AccessAlly, but I was pretty pleased at how intuitive the platform felt.
A Monkeypod Documentary
In 2018 I worked with Jamie Dubose to move my training courses (which are now free) from CustomerHub to AccessAlly.
We recorded our process and wound up creating The Migration – a feature length docuseries answering some of the most important questions for building a course platform.
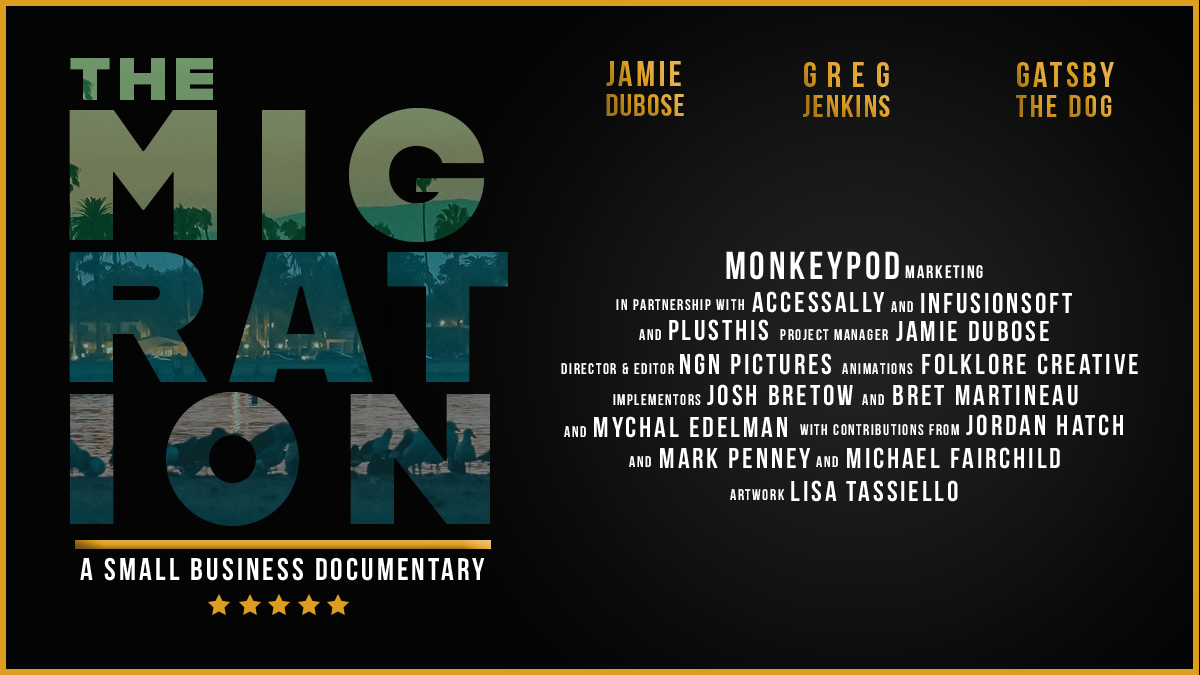
(Note: CustomerHub has had a number of changes since I moved off of it, and their new platform is a complete overhaul. I haven’t used it personally, but the feedback I’m hearing is quite positive.)
Step 8: Test thoroughly
This might go without saying, but I’m gonna say it: Test, test, and test.
And even after you’ve tested – test again. Obviously this is only one pieces of the puzzle, but here are some tips for testing your Infusionsoft campaigns.
Step 9: Design survey loop
Before you launch, I recommend designing a process to capture feedback from people.
It could be something simple, like an automated email after 14 days that asks how things are going – or, it could be something more formal, link a link to a survey where they can share their feedback.
Capturing their feedback is the first step, but you’ll also want to think through how you will respond to it.
If the feedback is good, then you just need to thank them (and ask if you can use it in your marketing), but if the feedback is constructive – you’ll want to have a plan for how you’ll handle that as well.
Step 10: Think through support strategy
No matter how much planning you do, or how dialed in your automation is – there are bound to be customers who need a little more attention.
Take the time before you launch to think through how you’ll handle customer support requests as they come in – it could be as simple as assigning that responsibility to a team member, or hiring a virtual assistant to help (speaking of courses…), but one way or another you want to have a plan in place that helps your customers feel supported during (and after) the course.
Step 11: Design launch and promotion strategy
You’ve done the work, now its time to get your course in front of the people it can serve.
If you built the wait list early on, and you’ve been regularly updating your social channels throughout this process, then you can start by launching to your wait list. There are countless resources and experts who specialize in launch strategy, so I won’t pretend to have all the answers there – but I will share this dense resource, from Stu McLaren.
This guide talks about open and closed cart strategies, and general best practices for launching a profitable membership site – I’ve found that courses and membership sites often go hand in hand.
Annnnnnd that’s it.
Listen – I know this is a lot of work. I’m not trying to downplay that at all.
But the work is worth it.
And remember, not everything on this list needs to be done by you – so if you want help with any step of the process, just ask, and I’ll do my best to point you in the right direction.
Good luck – and happy course creating. If you have any questions (or feedback) just leave a comment below!


This looks awesome, G! I didn’t read, yet. Just a quick scan. It’s on my to-do list for this week. I planning to launch a course in the coming weeks (already launched to email list but straight to order form).
Thanks!
Hey Greg, I love you man but it’s time for you to check out the new CustomerHub platform (www.customerhub.com). Your 2018 documentary focuses on the Classic CustomerHub app which isn’t even sold anymore…
The new CustomerHub is the fastest and easiest way to publish a professional online course or membership site that’s seamlessly integrated with Keap (and now other systems too). And like Kajabi it handles all of the technology for you so you can maximize profits and stay focused on your business.
Hey Kyle – nice to hear from you. I think the experience I represent in that documentary is fair and accurate (based on the reality at the time it was recorded). At the time I moved off of it, it had been stagnant for years. Shortly afterward, I know you guys re-acquired it and immediately started making progress. I absolutely love the momentum you’ve got, and the feedback I’ve heard from others is really positive. I hope you know I don’t have anything negative to say about CustomerHub, and I added a sentence to the post that hopefully clears some of that up.