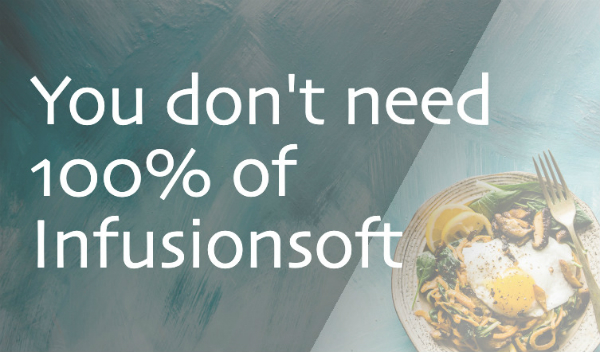
You don’t need 100% of Infusionsoft
If you’ve been a Keap user for any amount of time you’ve probably heard someone say “I’m only using 10% of the platform.”
Or maybe you’ve even said a version of it yourself.
Something about this phrase, and the mindset it represents, has always bugged me a little – and recently I think I figured out why.
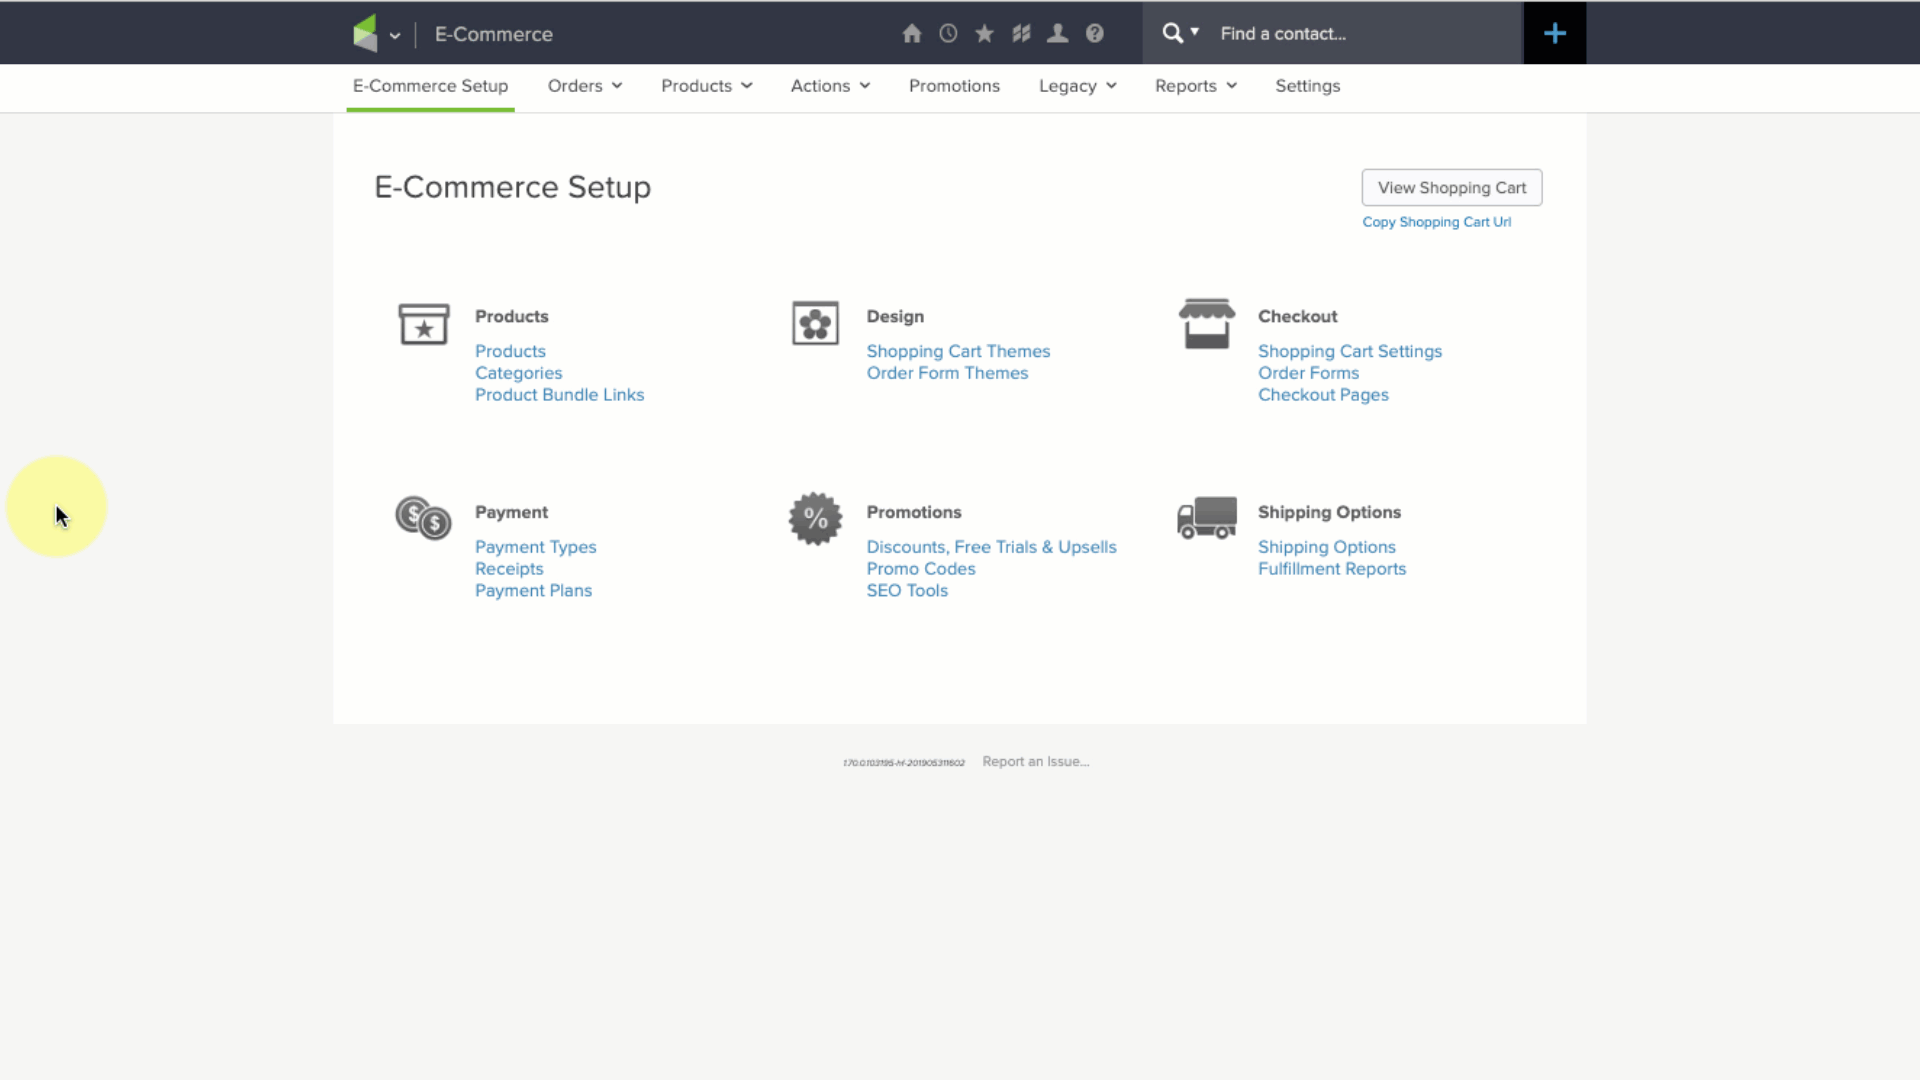
Keap wasn’t created for you.
It wasn’t created for me either.
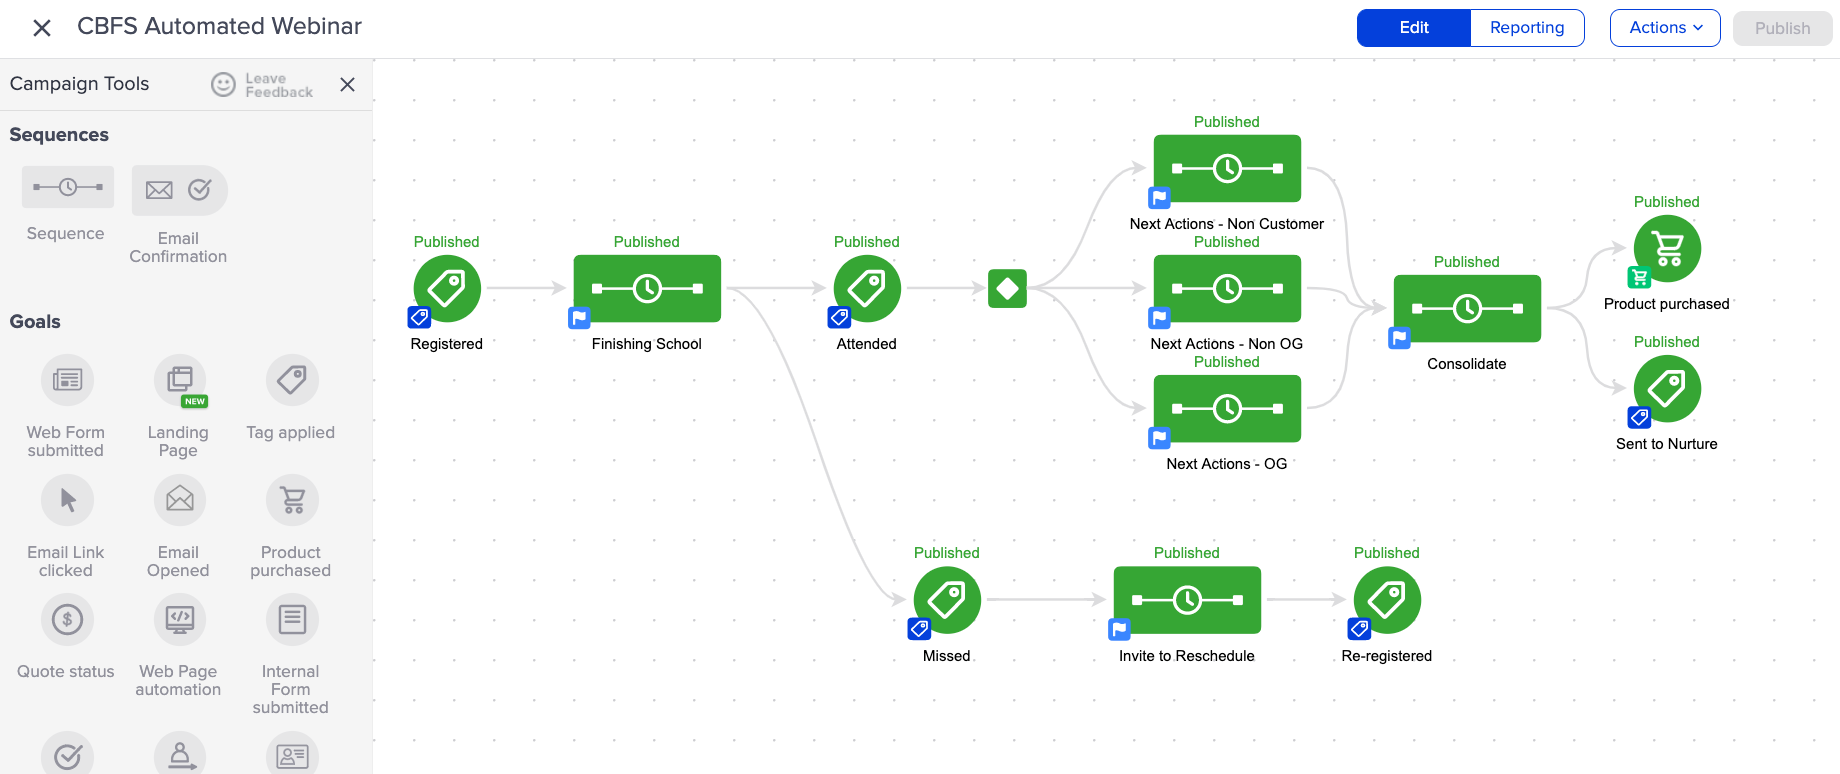
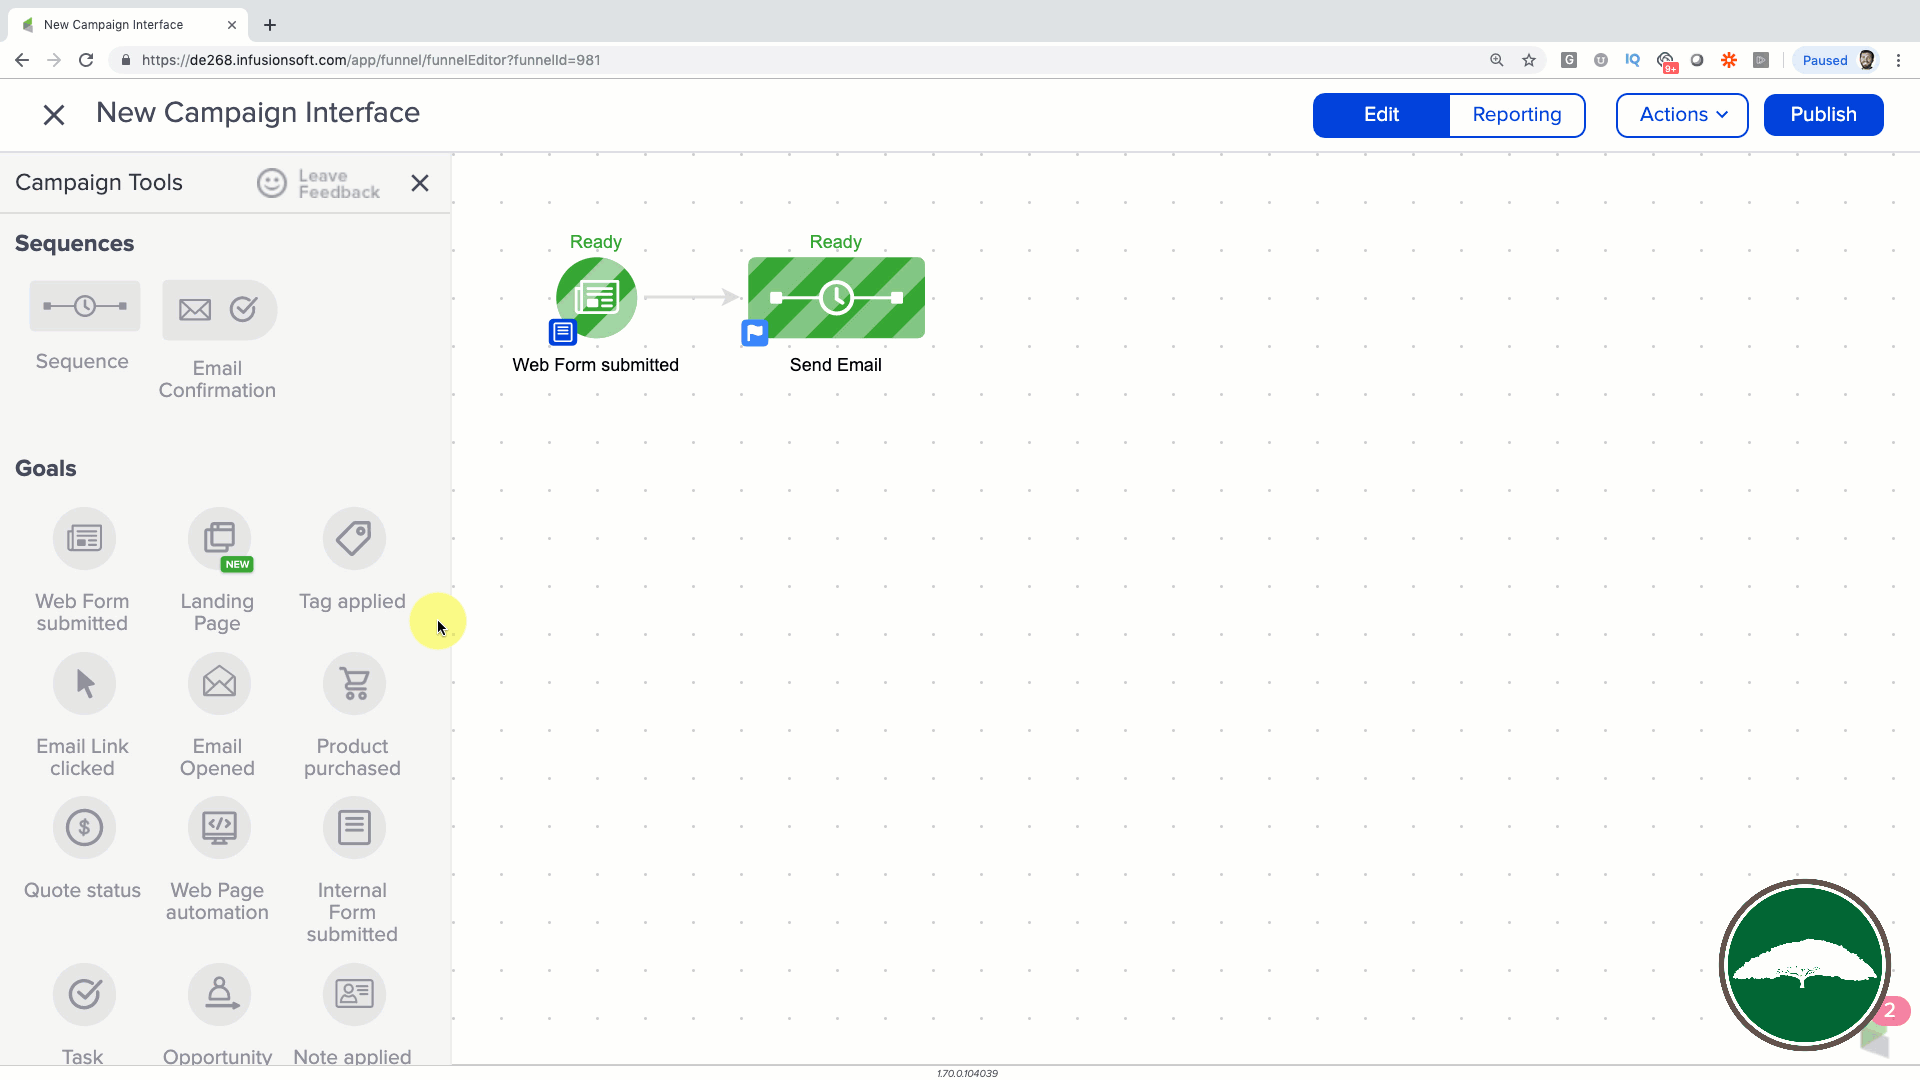
It wasn’t created for any individual – it was designed to solve problems for a variety of businesses, across industries, and around the world.
And the result of a tool being that robust is that it generally offers more than any single business needs from it.
I think that’s why the idea of using 100% of Keap (formerly known as Infusionsoft) always made me raise an eyebrow.
You don’t need 100% of Keap.
No one does.
Saying you aren’t using all of Keap implies that you should be.
Saying you’re only using 10% infers that you’re missing out on 90% of what it has to offer.
That logic doesn’t add up – and it’s why I think this is a myth.
Lemme explain:
Can you imagine if the same logic was applied to a Las Vegas buffet?
You may leave absolutely stuffed, but there’s way more food that you didn’t eat – right?
There’s more at one of those buffets than anyone can or should consume – both in quantity and variety.
You don’t need to eat everything (though some of us still try) – you just need to eat whatever you personally need for nourishment, or to satisfy your appetite, and to feel good about the value you got from the buffet.
And that same idea is true for Keap, and probably for many softwares – you don’t need everything they offer, so get clear on what you and your business have the appetite for, and prioritize that.
So rather than trying to eat the whole buffet, or ride all the rides, my advice is to focus on articulating your personal needs.
Define what 100% would look like for your business.
And then focus on doing that.