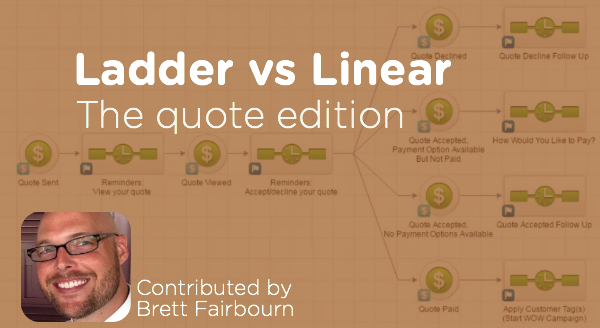
Linear vs Ladder: Quote Edition
 Buckle up sports fans, I’ve got an awesome blog post comin’ in from one of the best and brightest in the Keap building. Today’s post comes from Brett Fairbourn, a fellow automation geek and Keap educator. You may recognize Brett (or his voice) from his engaging and exciting update videos when Keap has a new software release, but today we’ve asked him to dig a little deeper and give us some insight into how some of the newest features might be used for your business. Brett wrote this post and created these videos exclusively for the Monkeypod readers, enjoy!
I was recently re-reading this gem from Reyna Bovee as I prepared to record the September 2016 product update video for Keap. I wanted to double check my logic, because the old linear vs. ladder conversation just got a little larger. The September 2016 update introduces the “Quote Status” goal to the campaign builder, and quotes work a lot like opportunities in that you can have several of them attached to one contact.
Here’s more on the quote status options.
But wait, first of all, can I just geek out for a second?
Quotes in Keap were, until very recently, freaking terrible. Man it feels good to get that off my chest. They were practically useless. BUT NOW, oh man, if you have a hands-on process, the quote-to-invoice-to-payment is so streamlined. And if your business is compatible with a more automated approach, now we have that, too!
You just have to keep a couple things in mind.
Like I said, as with opportunities, you can have several quotes attached to a single contact. But it’s not the quote that goes through the campaign, it’s the contact. So 5 quotes sent to 1 contact = 1 contact in the campaign, and that contact is going around viewing quotes and clicking on things all willy nilly. This can get confusing, and it can cause problems, especially if you’re using the linear approach to building your quote automation campaign.
The problem with the linear model is that any downstream goal will stop all upstream sequences. In other words, if I’ve viewed one quote but haven’t acted on it, and then you send me another quote, acting on either one of those quotes will stop all preceding automation. That means no more reminders to view the first quote if I haven’t done that yet.
Do I sometimes have multiple quotes pending for one contact at the same time?
If yes, you might want to use a ladder-style quote automation campaign.
If no, then the linear campaign will work great for you (and it’s easier to conceptualize and build, so that’s nice).
To be honest, it probably doesn’t matter in most scenarios, because we’re only talking about a two-stage process: the stage between “Quote Sent” and “Quote Viewed,” and the stage between “Quote Viewed” and the customer’s response. In most cases, it’s not going to be vital to run both of those stages of automation at the same time. But hey, maybe for your business, it IS vital. So here’s the scoop:
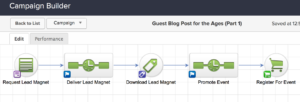
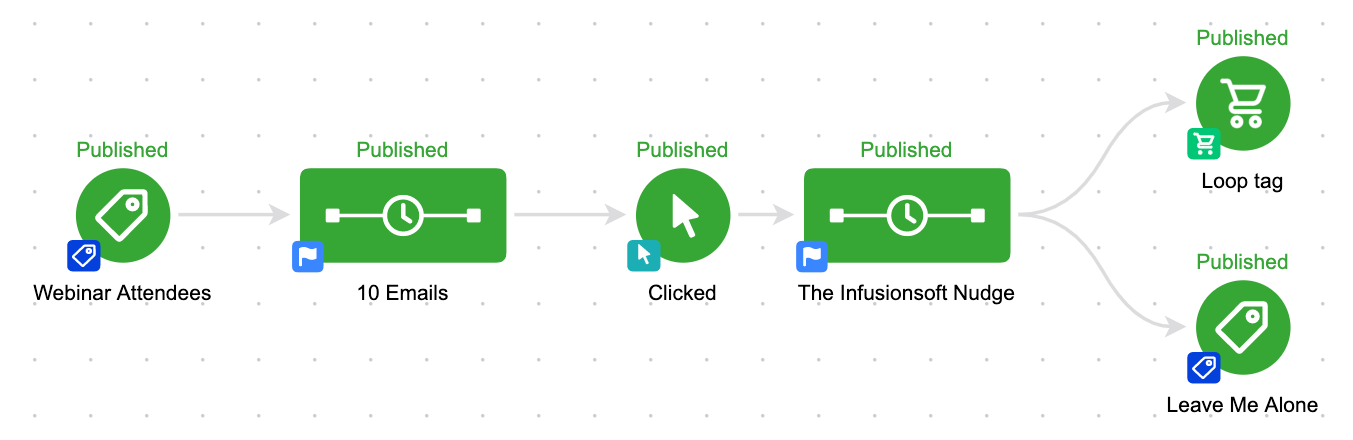
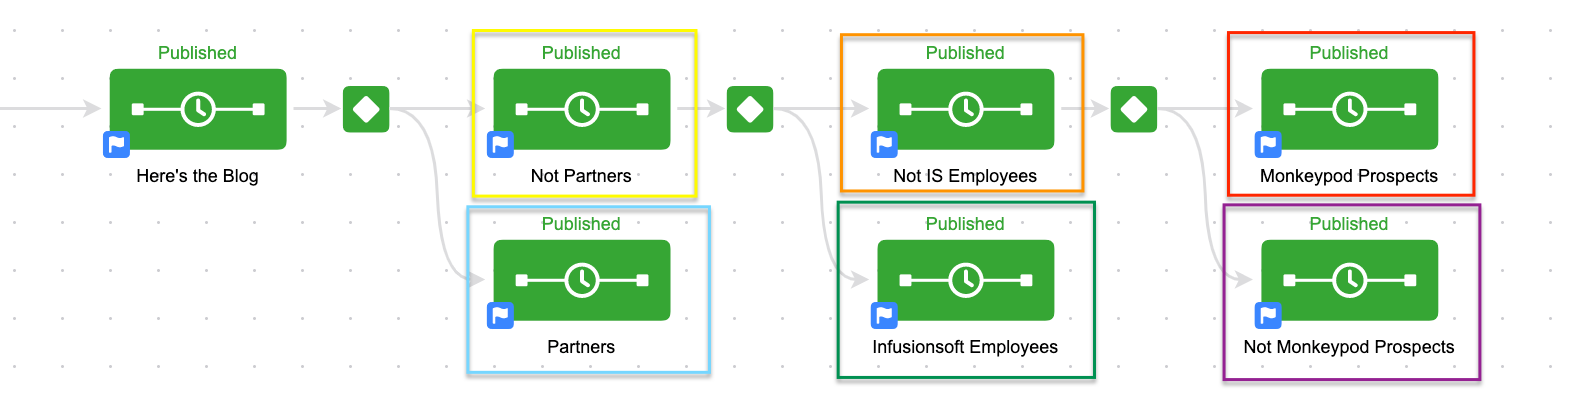
First, here’s the rundown on the linear campaign:

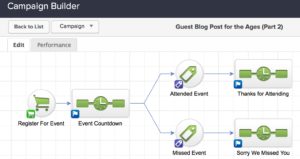
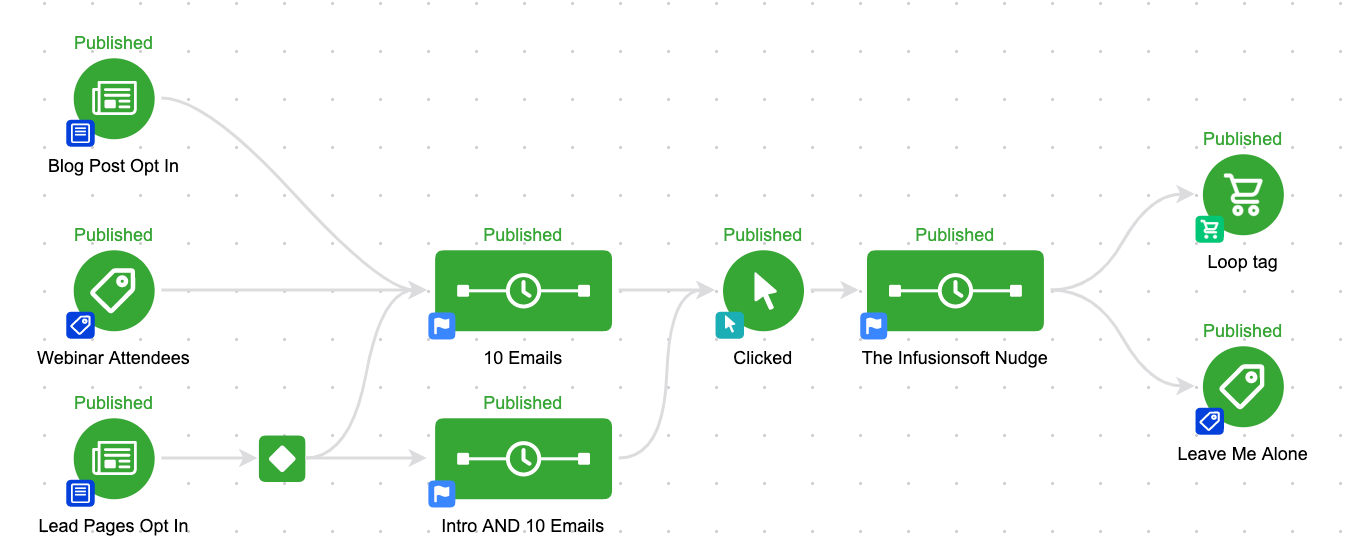
Next, here’s the ladder campaign:

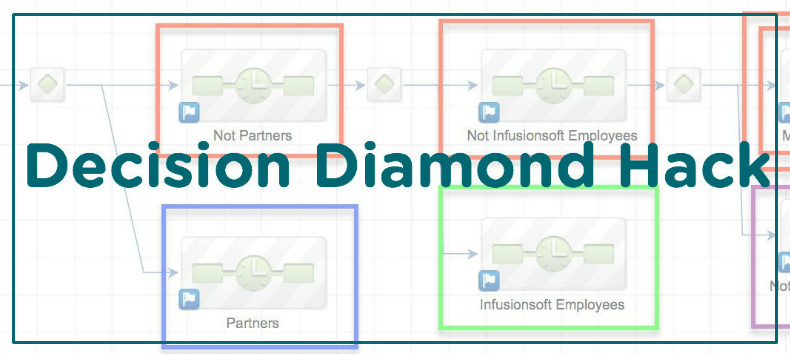
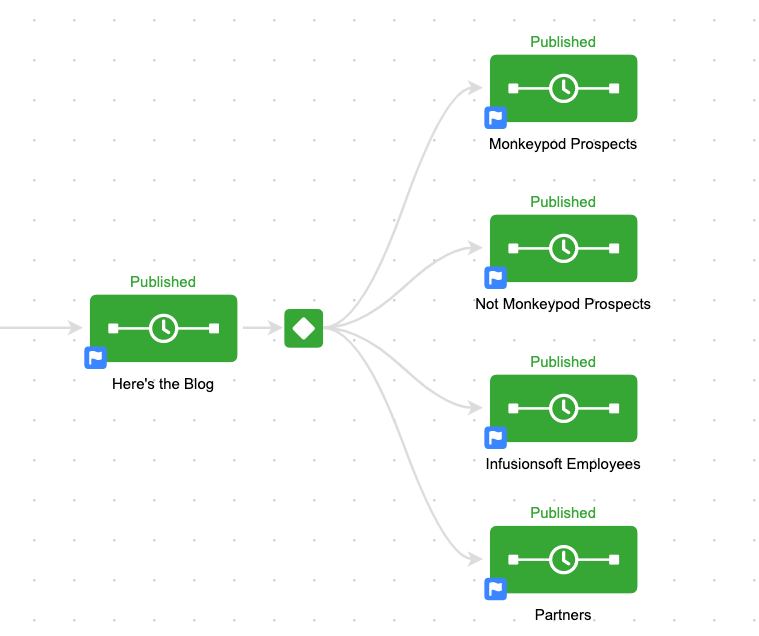
So there you have it – two different automation structures using the Quote Status goal that can help support your quote sending and payment collection process. The linear process isn’t wrong, per se, but the ladder methodology has a range of benefits it offers. And in case you missed it, here’s a great post outlining the ladder process you can use for supporting a sales pipeline.