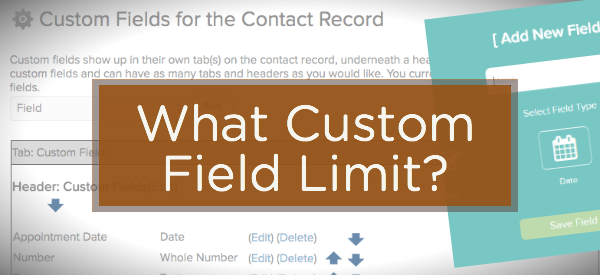
What Custom Field Limit?
Infusionsoft is a powerful and robust marketing tool – there’s no question about that.
But it’s not without it’s limitations. In fact, there’s a pretty common one that catches most people off guard sooner or later.
Infusionsoft only allows you to create 100 contact custom fields.
Now, depending on how long you’ve been using Infusionsoft, you may already know this, but here’s what I’m talking about in a nutshell:
At the core of using Infusionsoft is the contact record. Infusionsoft is contact-centric, so it all ties back to that central contact record. And the more detailed your contact record is, the more you know about your customer, and the more targeted you can get with your segmentation. Sounds good, right?
There are some things that Infusionsoft has native fields for (Name, Email, Phone, Birthday, Address, etc), but odds are pretty good that your business might need to keep track of something specific to your industry, or niche (like their pets name, their budget, or the date of the event they’re hosting, etc), so for anything like that, you’re going to want to use a custom field.
That’s where the contact custom field limit becomes a pain.
I’m emphasizing contact custom fields because technically you can create also create custom fields for the other record types (like order, task, or opportunity, etc), but contact custom fields are by far the most useful, and therefore valuable.
Previously the options for getting around this obstacle were creative solutions that involve tags, or possibly repurposing some of the existing contact fields you aren’t using. But not anymore.
Now there’s a tool designed specifically to help Infusionsoft users eradicate the 100 custom field limit.
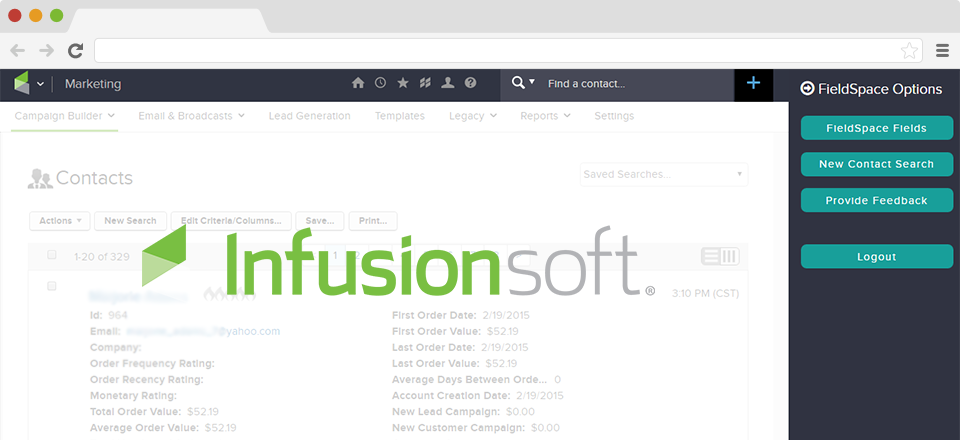
Enter FieldSpace.io
Put simply, FieldSpace is a tool designed to work in tandem with Infusionsoft, and it gives you access to additional custom fields.
Let me be clear, this is a really slick tool, but this early version of it still has a few limitations.
The biggest limitation at this point is that you cannot merge information stored in FieldSpace directly into emails, and you cannot capture information from web forms and store it directly into FieldSpace.
Say what?
I know, I know, but hear me out. This really isn’t a deal breaker, and here’s why:
Use FieldSpace to archive information that is important to you, but that you aren’t actively using.
There are a handful of situations where this would be useful, but think of it this way:
If you have information that you want to keep (like survey results, fields for a service you no longer offer, or details about a past event, etc), but you a) don’t need to merge it into emails, and b) aren’t still actively collecting this info, well, then FieldSpace might just be a good fit.
(So, just to be clear, you can’t archive any fields that are actively being used on your lead capture forms, or your surveys, etc.)
How does it work?
Fair question. Okay, so FieldSpace is a plugin, right? It is actually a Chrome Extension, but once you’ve set it up it shows up as a slideover inside Infusionsoft.
So, you can either create custom fields directly through FieldSpace, or you can archive your existing custom fields.
Once you have your fields in FieldSpace, then you can search them like normal – with one small difference. After you complete a normal search with all the built in criteria, you can layer on a FieldSpace search and it’ll refine even further using any filters you want from your archived fields.
This integration is fairly specific, but it’s also super clever, and for the right business this just might save the day.
I have nothing but good things to say about the team that has designed, built and maintains this, so if you’ve been hung up on the custom field limitation in Infusionsoft, then I’d implore you to check out FieldSpace (and their $1 14-day trial) as a possible solution.
If you like stuff like this, and want to see the other tools in the Monkeypod Toolbox, then download my ebook: