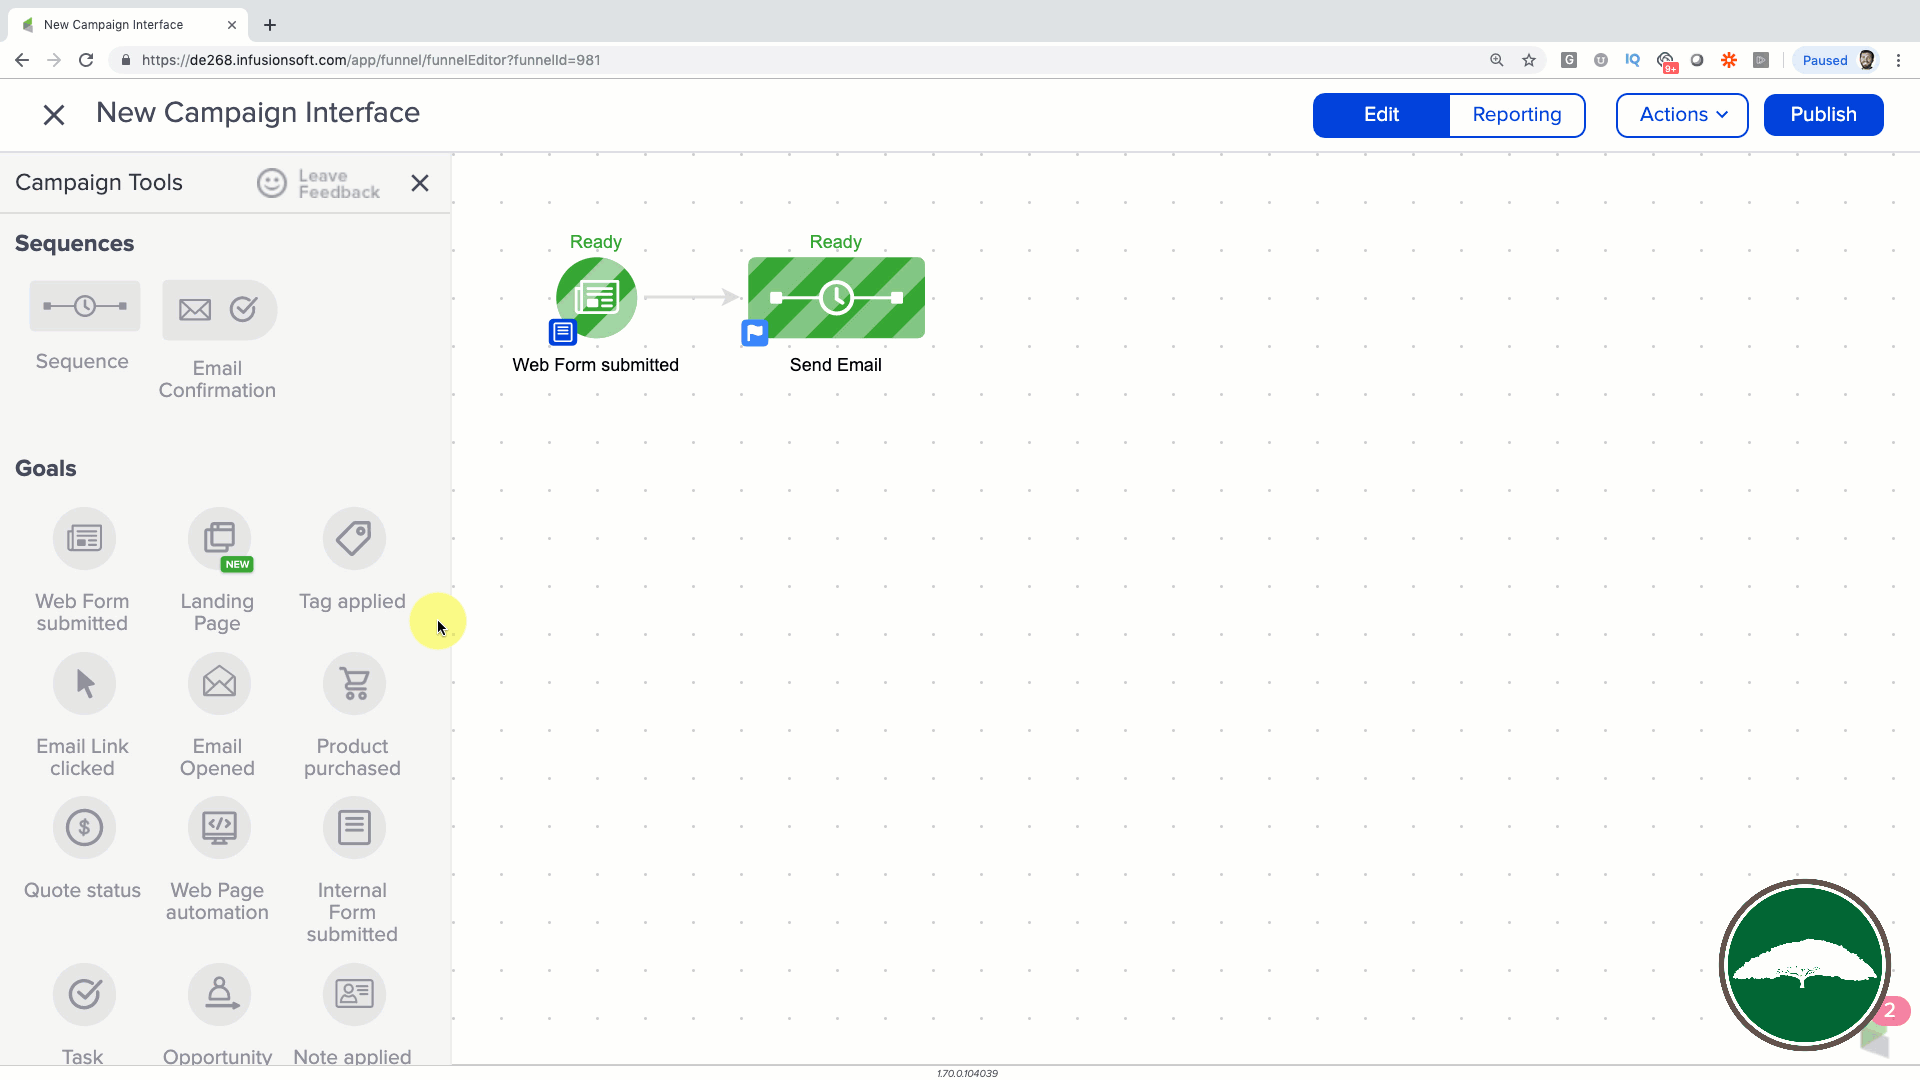
One Day Launch Experiment
1) Context
2) Launch Checklist
3) Tools
Context:
K – so this lil experiment came about because I had been intending to record an evergreen webinar, but somehow the project had been on my to do list for over a year.
I had the tools, and the experience – but for one reason or another I just wasn’t prioritizing it (sound familiar?).
So I decided to tackle it – and to prove a point (or punish myself?) I committed to doing it in a single day.
This blog post is a deconstruction of that entire experiment, from the prep, to the execution, to the lessons we learned, and the people who made it happen.
The Launch List:
In preparation for this project I made myself a launch checklist – and then it occured to me that others might want that too – so I published it as it’s own blog post (here’s the checklist).
I timed it so the checklist blog post would go live the day before the experiment was scheduled – that served two purposes, a) it gave people the list so they could follow along, or build their own webinar, and b) it gave me an extra chance to plug the actual launch day experiment and livestream.
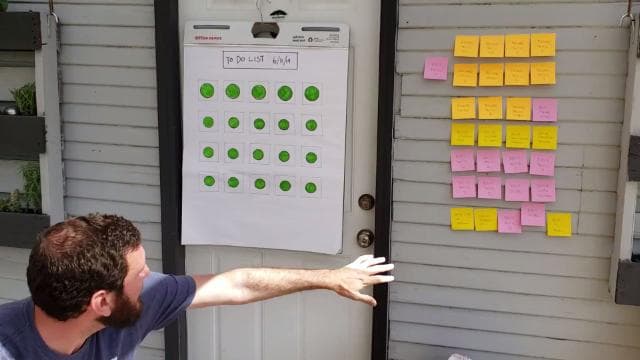
For the live experiment I turned the checklist into this handy-dandy collection of post-it notes:
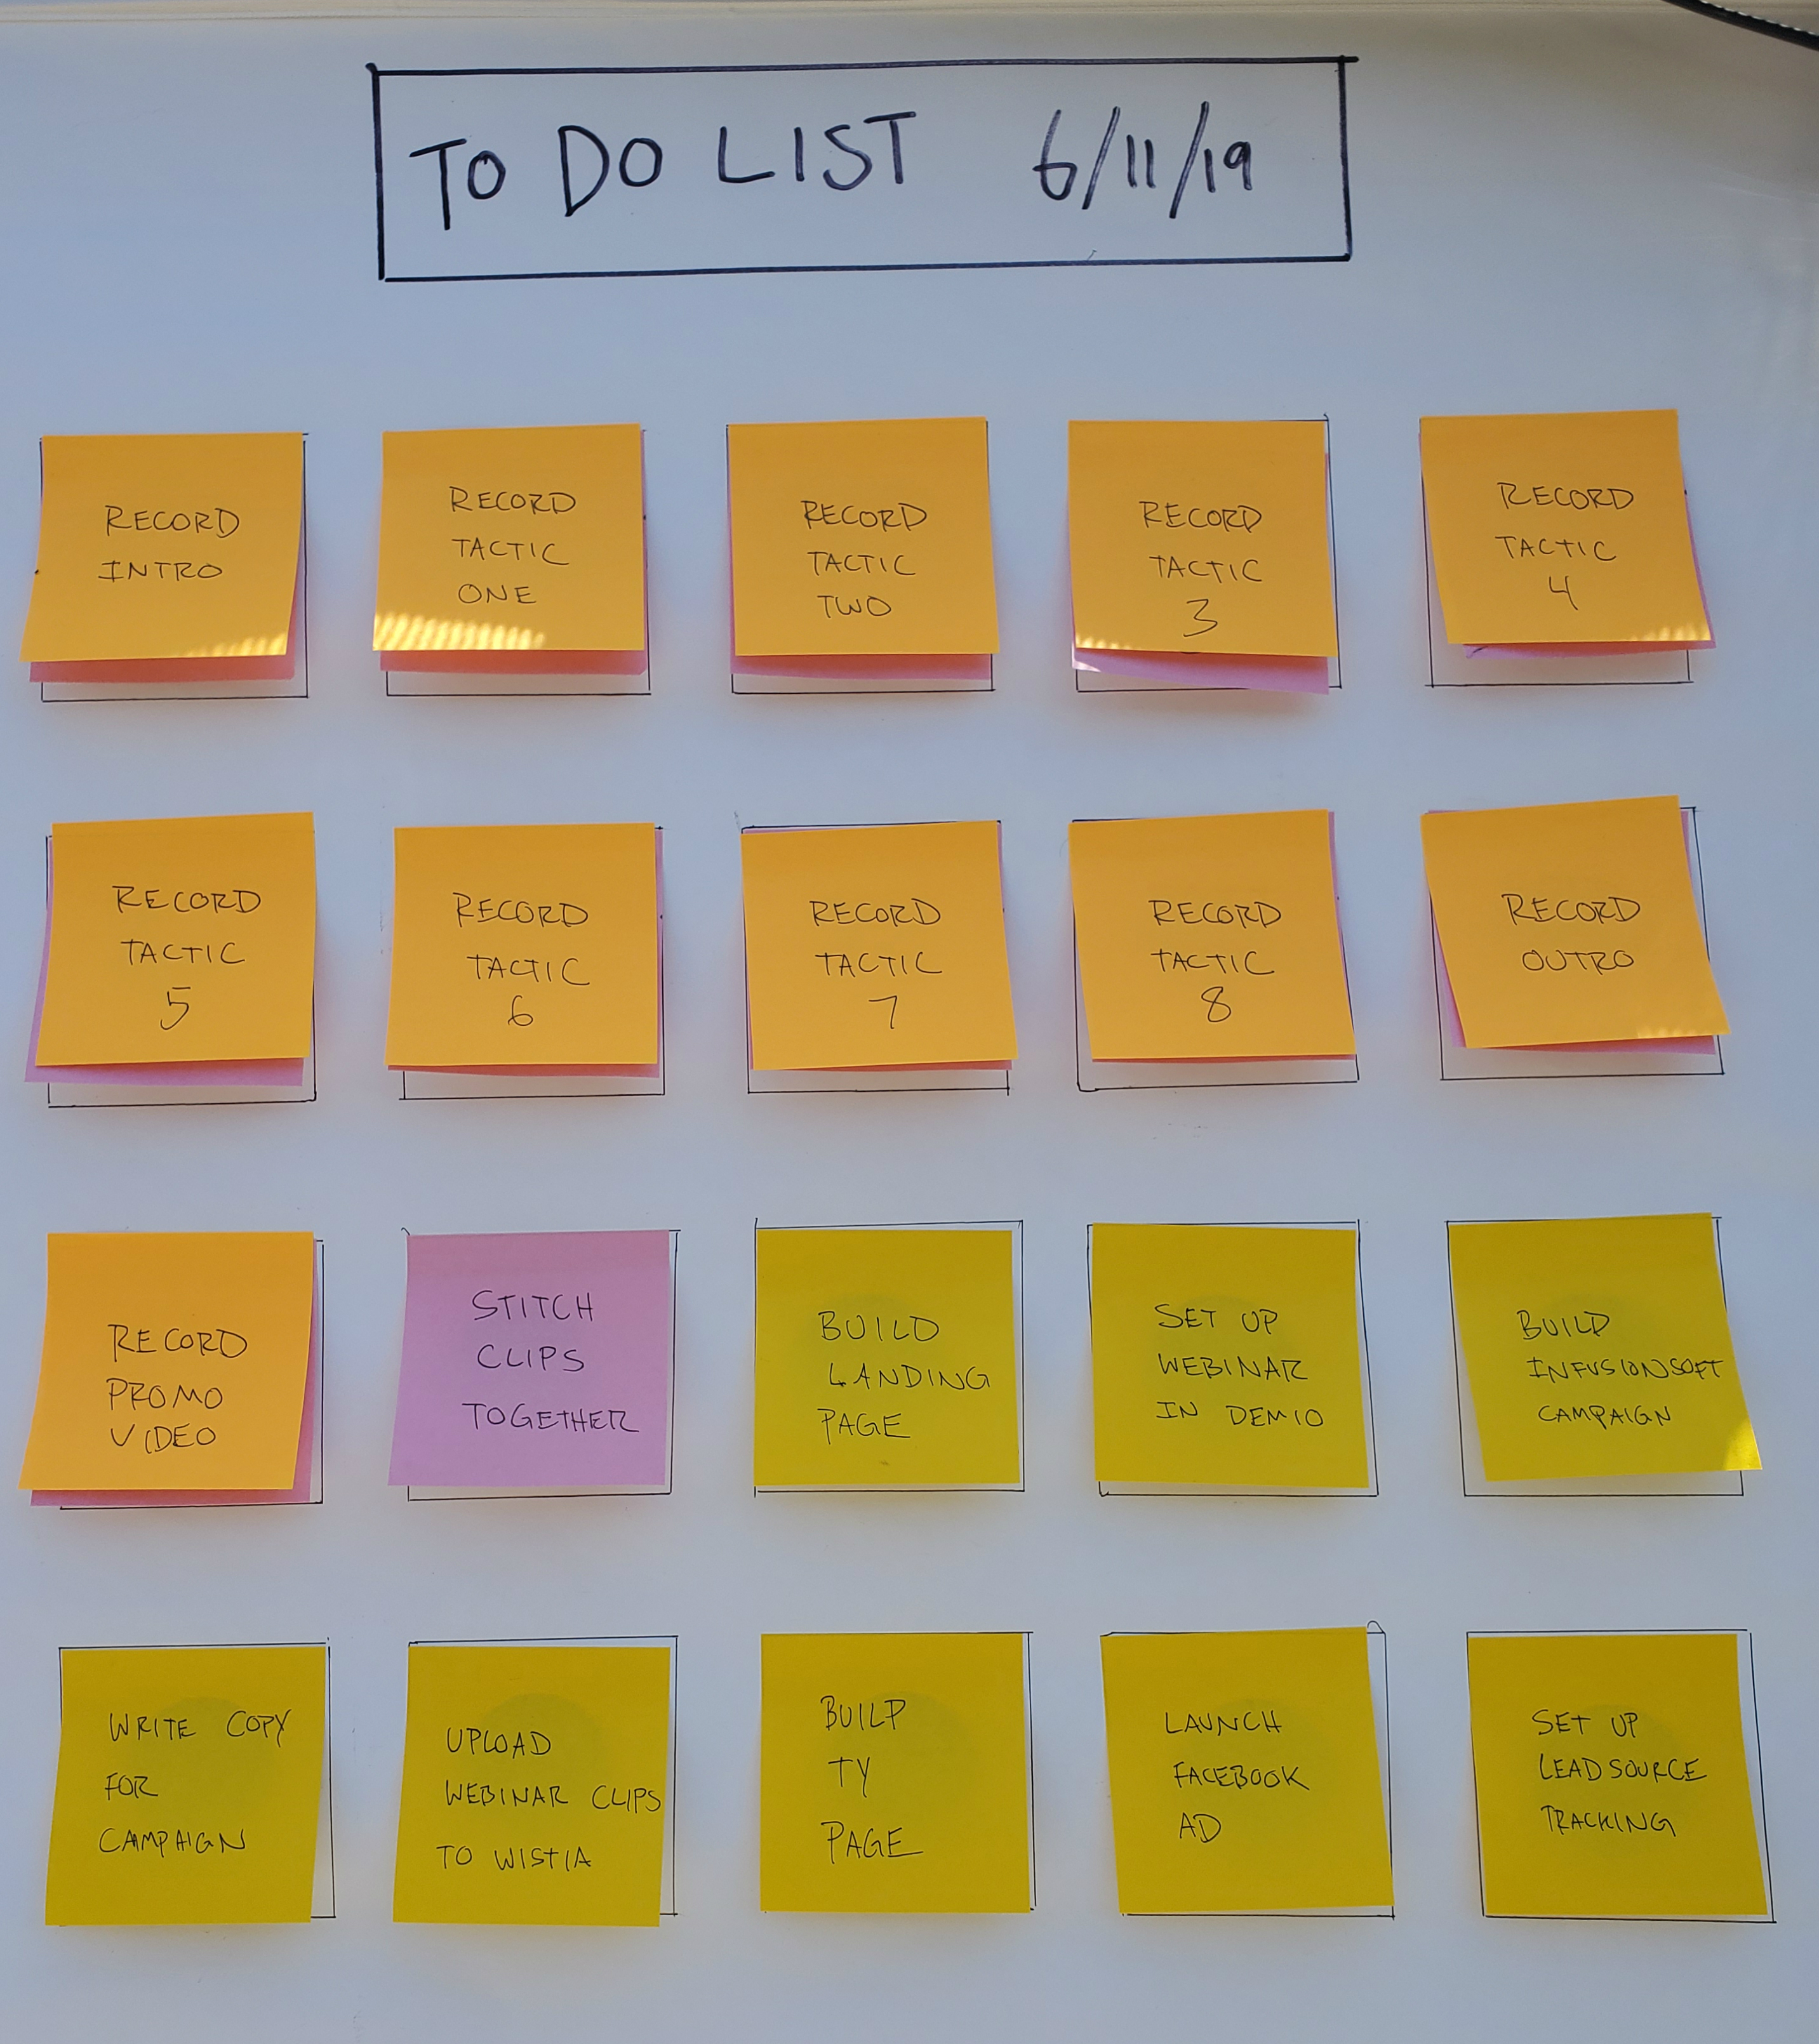
The only things we prepped ahead of time were the checklist, and the actual presentation material (like, the outline for what we planned to record).
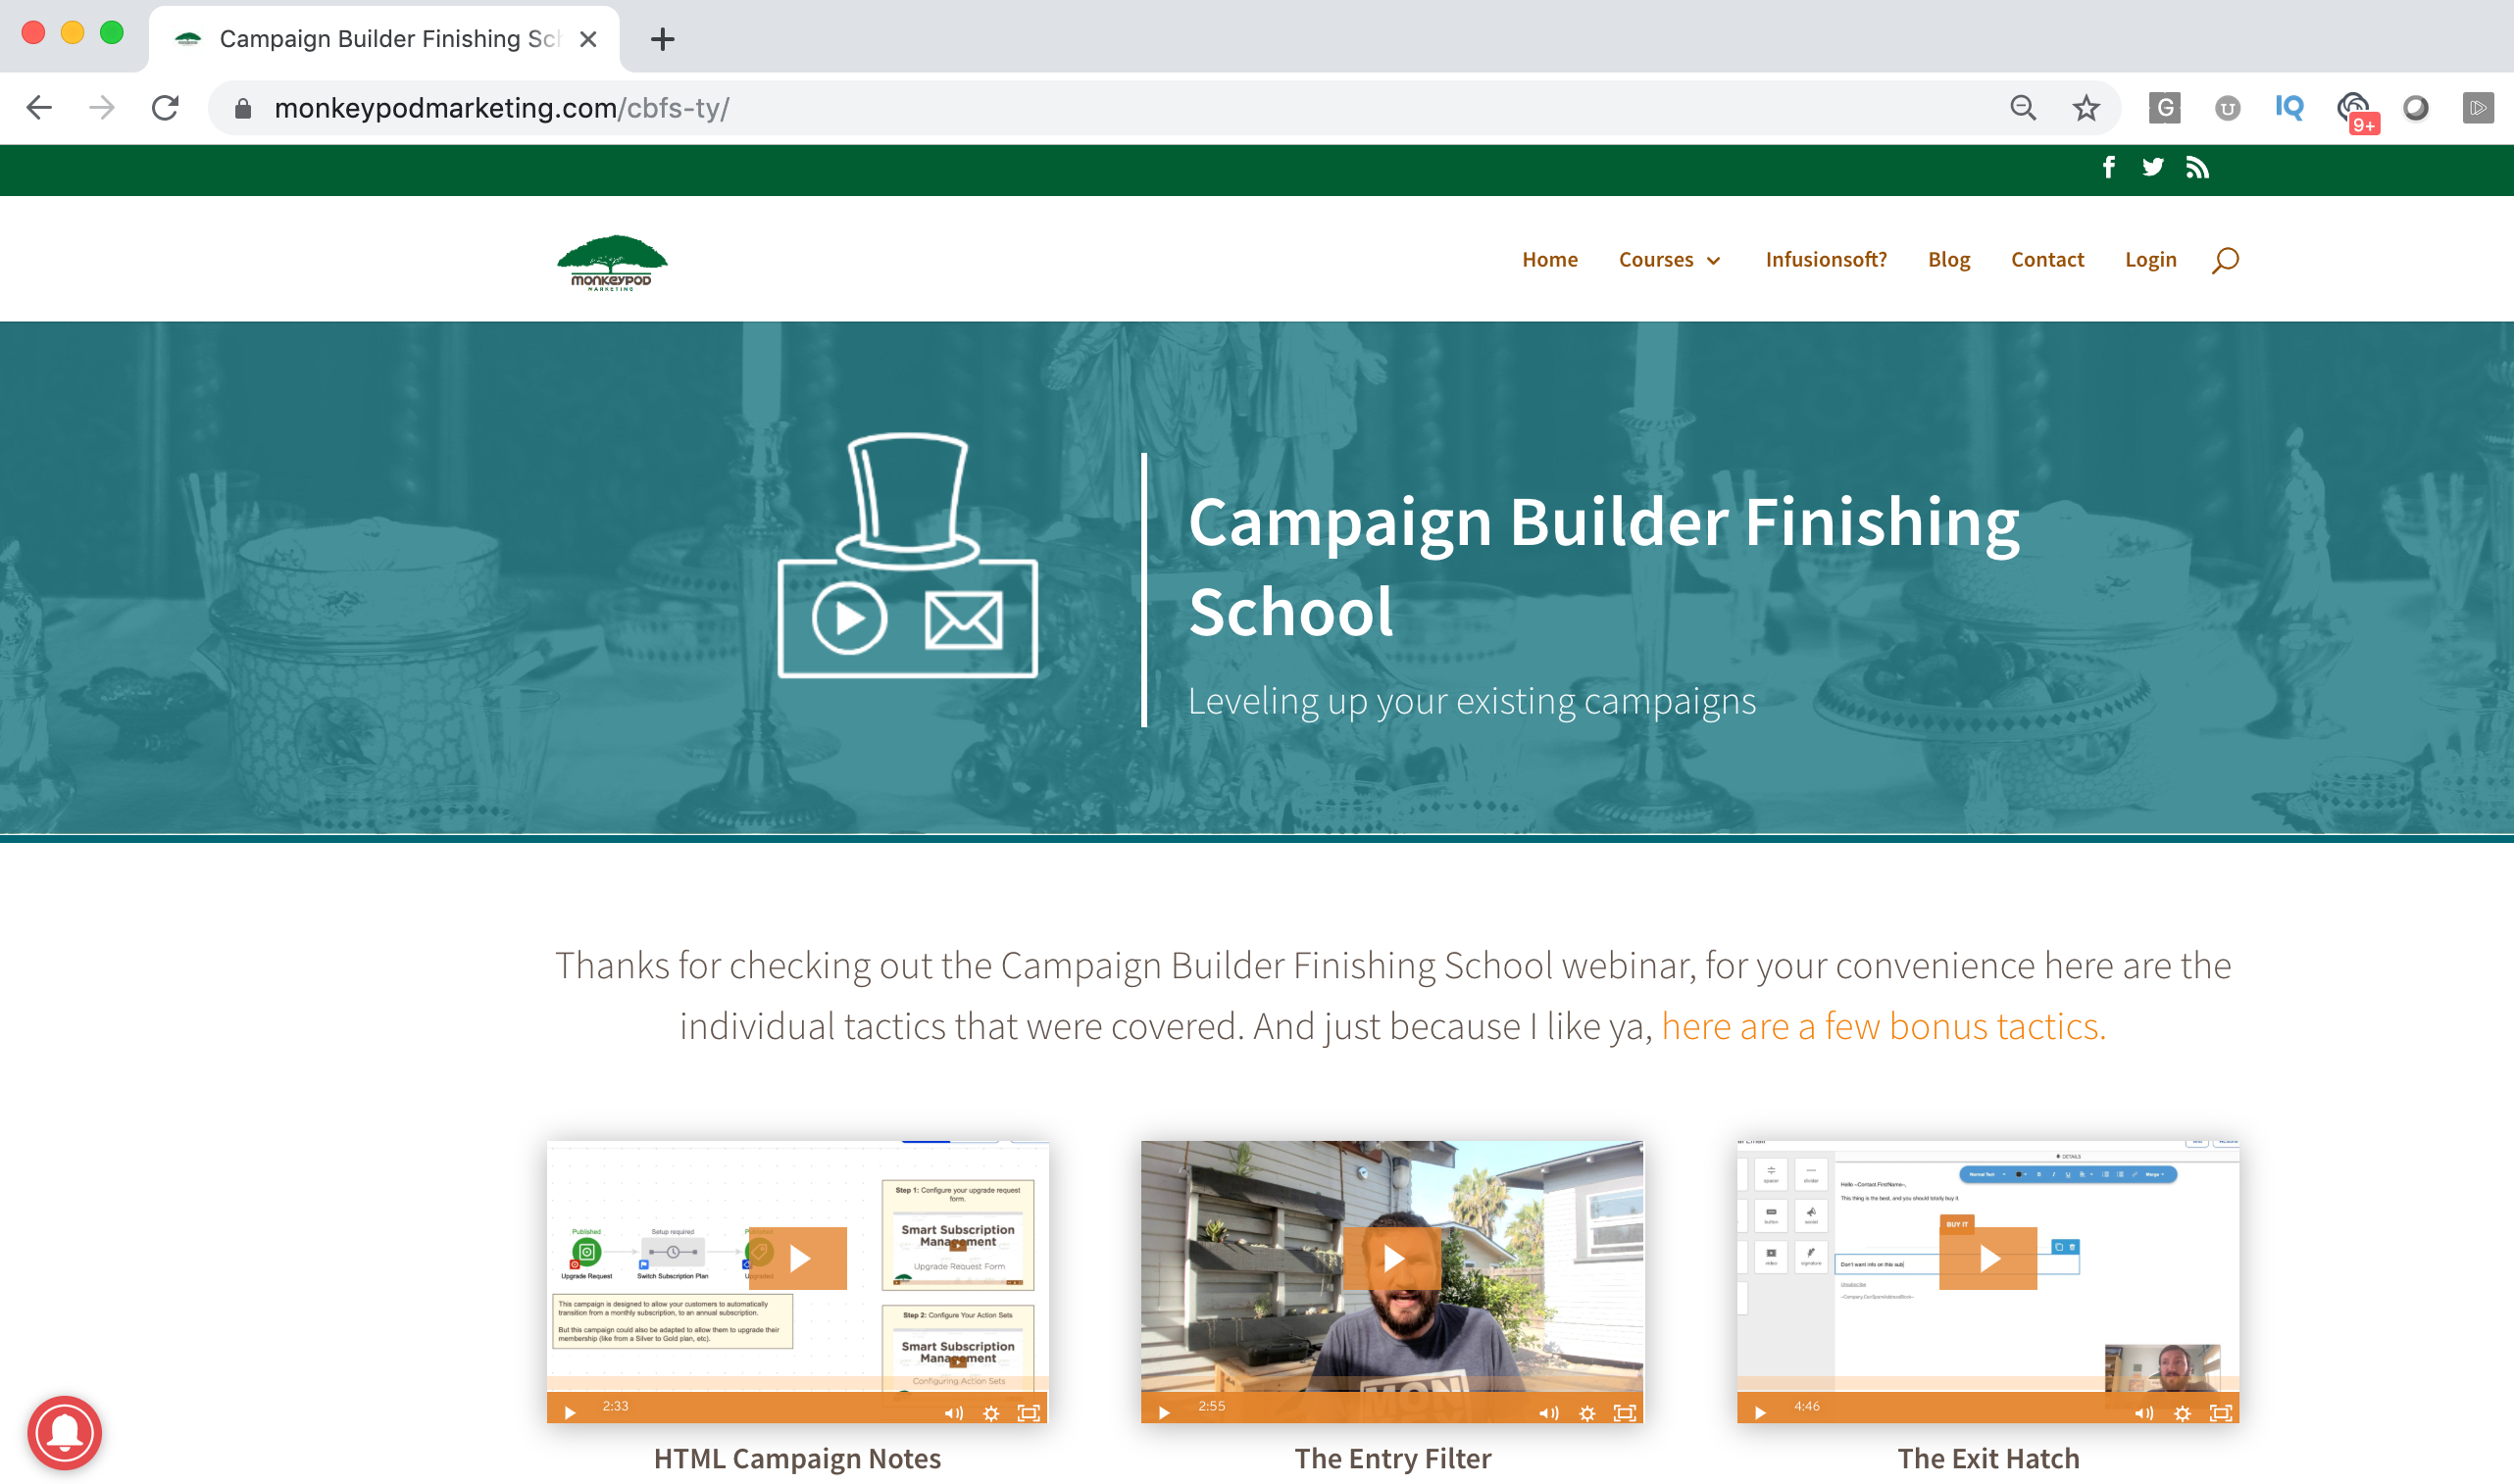
And that part was really only because it was a presentation I had delivered for SuccessCon 2018 (called “Basic to Baller: Tactics for Leveling Up Your Infusionsoft Campaigns”).
The Tools:
There are a bunch of webinar tools out there, I won’t pretend to have used them all, but for the last year or so Demio has been my platform of choice for a number of reasons. And since Demio also offers an evergreen option, that’s what we used for this project.
Here are the other tools we used in this project:
Content Strategy:
This might be my favorite part of this project.
So, we were setting out to create an evergreen webinar, right? And normally that’d be the end of that, and when you’re done you get to share the webinar you just created.
But a theme of mine lately has been trying to find ways to get additional mileage out of my efforts – so rather than just creating the webinar, we wanted to see how else this project could be valuable. If we’re doing to do the work, then we wanna make sure we’re maximizing the return we get on our efforts.
Here’s what we came up with – in addition to producing the webinar (1), we also write the checklist blog post (2), livestreamed the process from start-to-finish (3), produced a recap video (4), and wrote this blog post breaking down the entire project (5).
That’s five pieces of content from the one project, and I’m not counting the various social posts plugging those different assets. Not bad, right?
I guess my point is that different people might be interested in different parts of this project – and the same thing might be true in your business.
What ways could be getting extra mileage out of your existing efforts?
Launch Day:
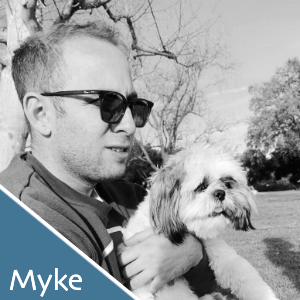
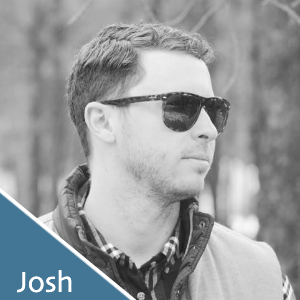
I knew I’d need a little help with this, so I coordinated with Myke, Josh, and Bret, and the four of us picked a day where we were all available.
Bret was in charge of managing the livestream, and making sure he had the content he needed to produce the summary video.
Josh and Myke were there to help with the actual implementation.
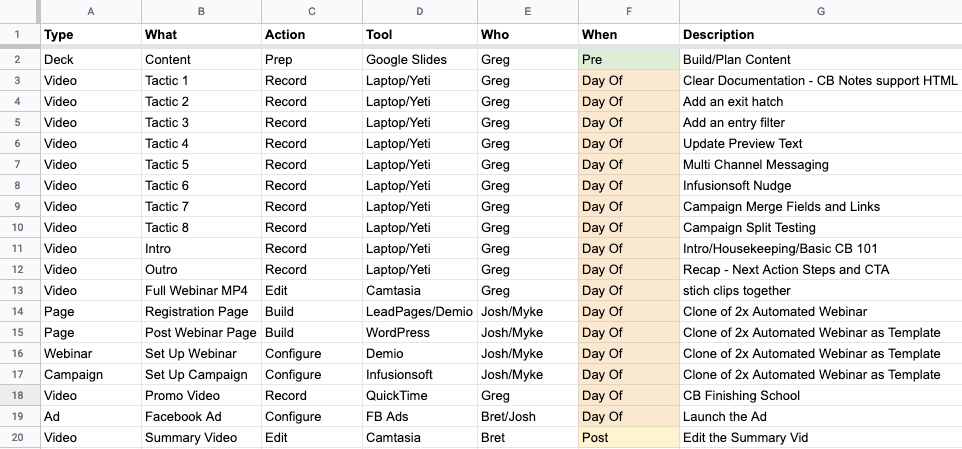
The only “work” I did ahead of time was creating an itemized plan of attack – I opened a google sheet and listed out all of the things I thought we’d need to build, including what tools we’d use, and who would be responsible.
Remember that physical “to do list”? As we completed individual tasks throughout the day we moved the ceremoniously peeled the post-it notes off. (surprisingly satisfying, I might add)
The other headstart I have to acknowledge was that we were working with content I had already presented once.
We’d still need to update it, record it, and edit it – but we didn’t need to build that out from scratch and that’s a big deal, because organizing your webinar content can be quite a hurdle.
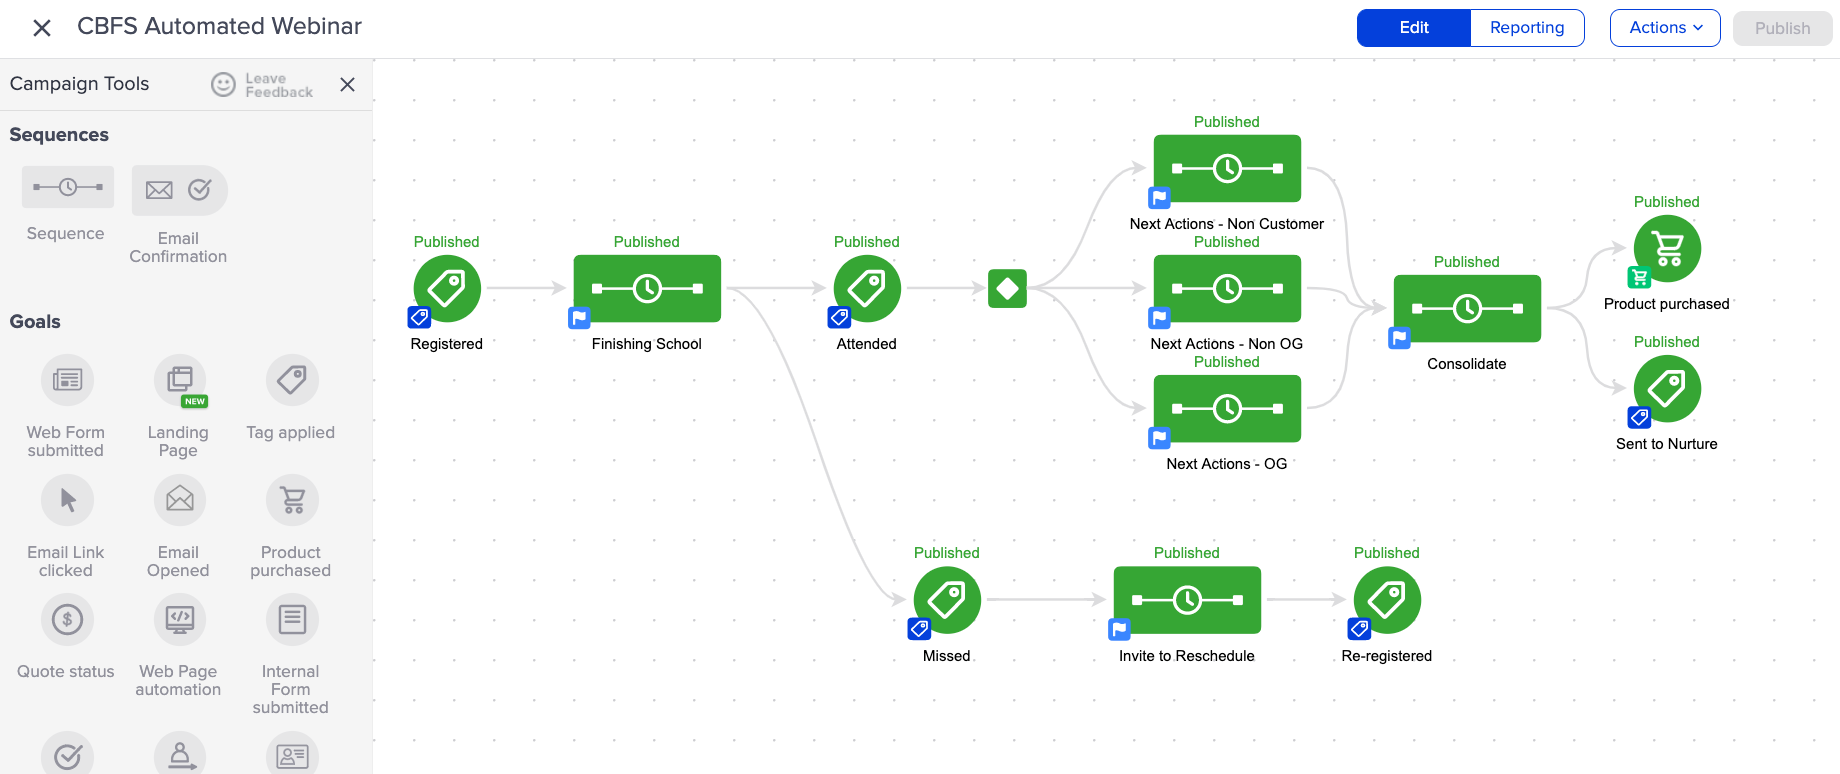
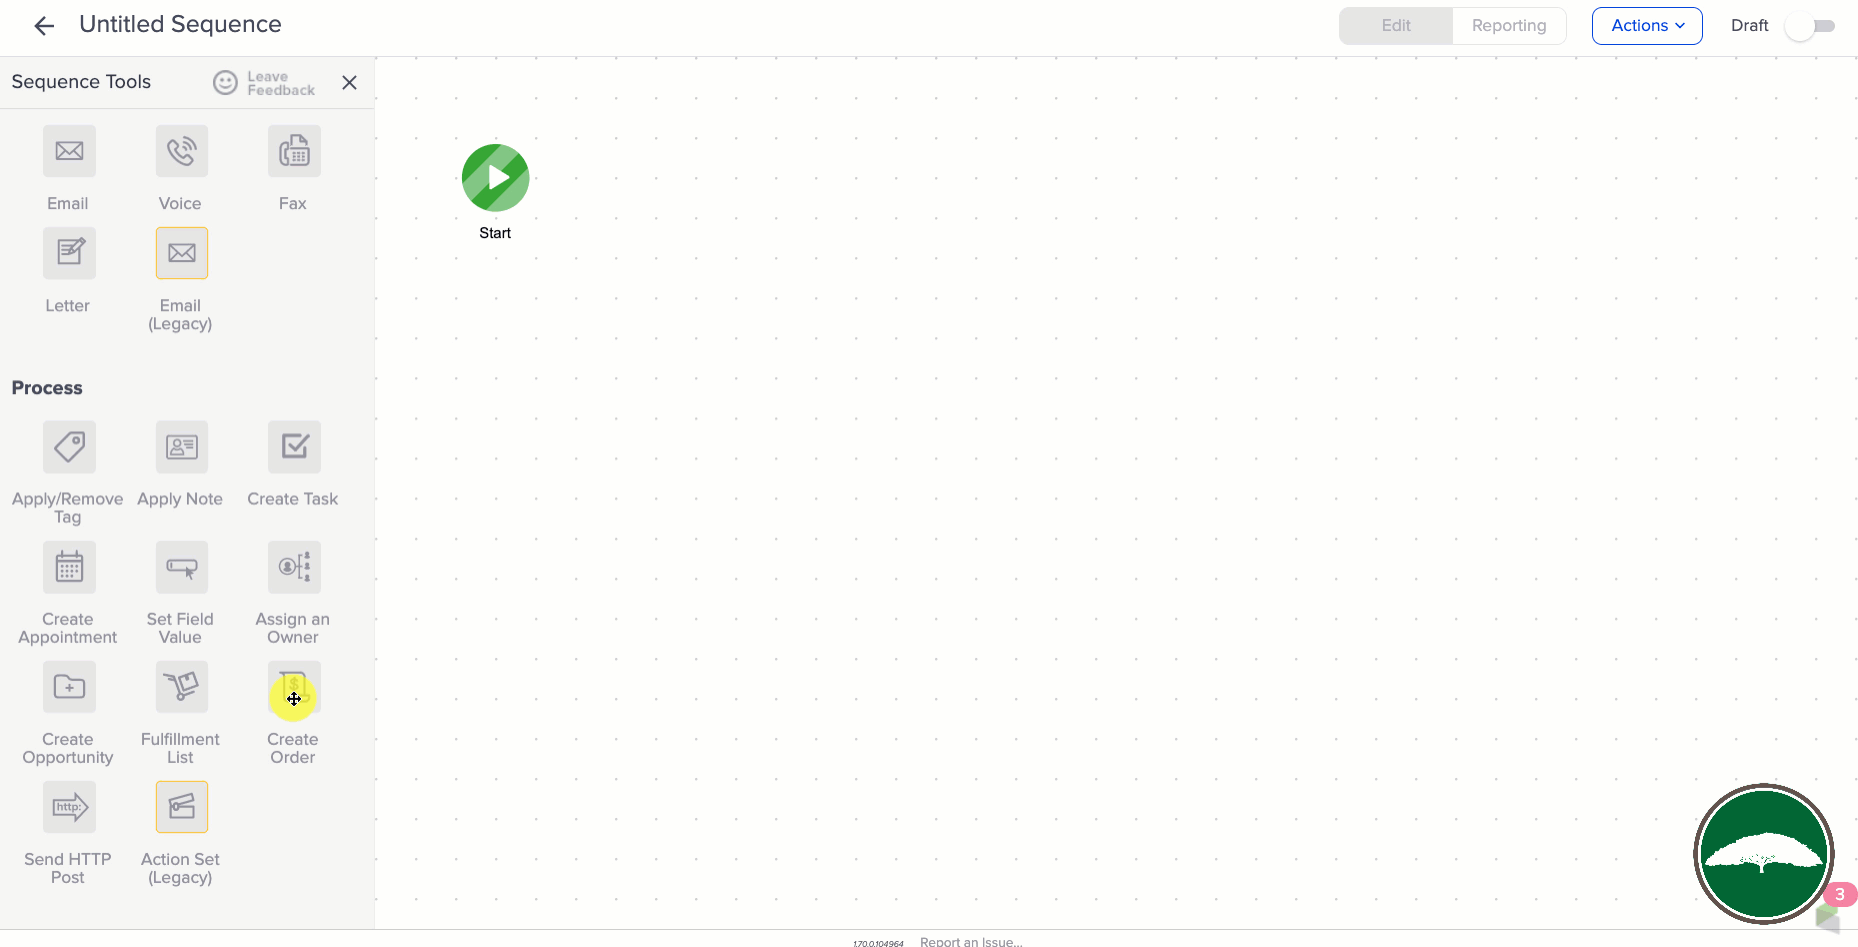
Once the livestream kicked off I dove right into recording and editing the content, and Myke and Josh worked on setting up the webinar in Demio, creating the registration and thank you pages, and building the Keap campaign.

The editing took the bulk of the time, by far.
So Josh and Myke took off once their work was done, and Bret did his best to keep the livestream entertaining.
Then, after a light and breezy 8-hours – all the assets were built and tested and we were ready to launch. The day concluded with Bret pressing publish on this Facebook Ad to start telling people about the webinar.
The Final Webinar:
This was the second automated webinar I’ve created and so I made one big change in terms of how I prepared this one – instead of recording the automated webinar first, and then cutting it into individual chunks for the post-webinar page, I decided to record the individual chunks, and then stitch them together for the complete webinar.
Here’s why this matters – one of the biggest drawbacks of an automated webinar is that your viewers might feel held hostage, so I like to give people the ability to exit the webinar and watch the content at their own pace on the thank you page; so I designed that piece first, and then assembled the individual clips into the large webinar recording.
This made it easy for me to record – because instead trying to find natural points where I could clip out the content, all I had to do was record an intro and outro, and then insert transitions between the individual clips.
The Recap Video:
I’m no fool – I know no one wants to watch an 8-hour livestream, no matter how majestic and inspiring it may have been.
So I hired Bret to distill the recording into something more digestible, and not to diminish his video alchemy – but *poof*, here ya go:
Another important thing to note here is that we went into this knowing we were going to produce a summary video, so that allowed us to capture footage or have conversations that would make future Bret’s life easier once he got into the editing room.
Lessons Learned:
This was a fun project, and I’d definitely chalk it up as a success.
We did what we set out to do – but, that doesn’t mean everything went swimmingly. We definitely learned a few things along the way.
1. Look for layers in your content
It would have been easy enough to just record the webinar and put it out there, in fact that’s what I think most people do.
But if we had just done that we’d really only have served people who wanted to polish up their Infusionsoft campaigns (the topic of the webinar). By recording the process and documenting our experience we were able to broaden our audience and provide valuable content for people who are interested in creating an evergreen webinar – or who want a behind the scenes peek at building the campaign to support one.
2. Plan the Livestream
This is definitely something I think we could have done better – we knew we wanted to livestream the whole thing, but we underestimated how long the editing would take, and since a livestream of me editing video might actually be boring enough to kill someone, I wish we’d have coordinated some content to help with engagement.
If I were doing this again (and we might), I’d have come up with different topics, or had some other folks come by for Bret to interview during the livestream (Parks and Rec telethon style).
3. Set Goals
Our goal was really just to see if we could do this, and we did – but I wish I’d have set more specific goals for how long it would take, and then more importantly what type of a business impact this project would have (new leads, new sales, etc).
This one feels obvious in hindsight, but when we started this project I was coming at it from a content creator’s perspective. I wanted to be valuable, which is fine – and I think it was, but I could have also given more thought to exactly how it would serve Monkeypod.
Results:
I mentioned that this wasn’t a very “goal oriented” project from the onset, but I thought I should share some numbers for those of you who like numbers (even modest ones).
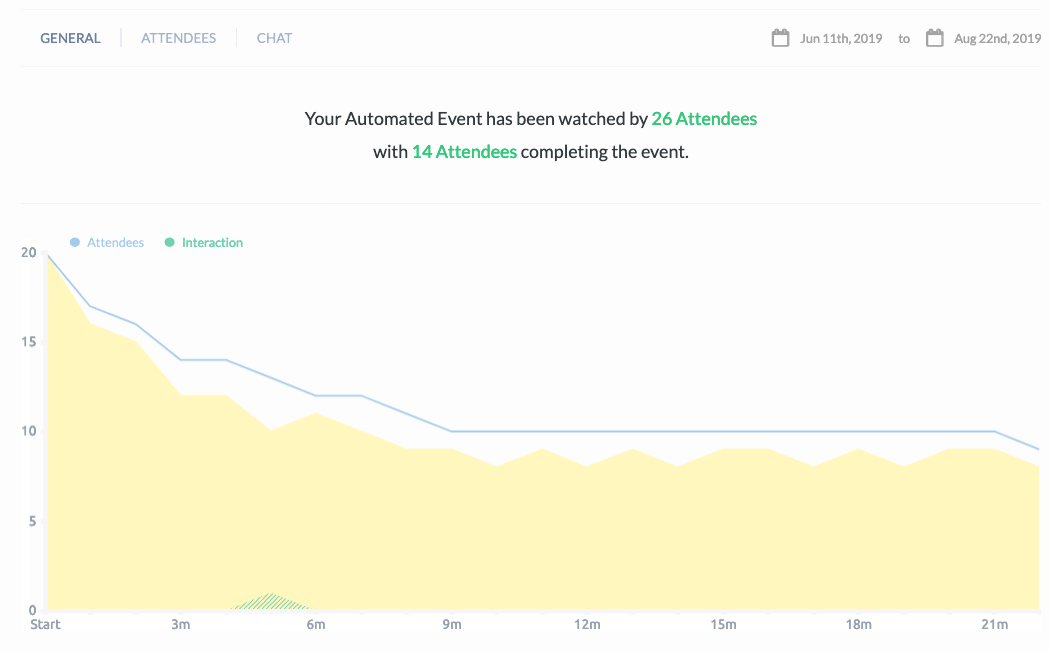
The first thing I’ve noticed, and am encouraged by – is that 80% of registrants are actually showing up for the webinar (compared to normal webinars which are generally less than 50% show rate).

I also noticed here are that 100% of registrants who chose on-demand are showing up, this makes sense since their session can start immediately – but it’s nice to see it validated with 20 out of 20 (admittedly, a small sample).
Finally, 54% of those who show up for the webinar are staying through completion – I was surprised by that as well, because I am literally giving people an “escape hatch” to leave the webinar after a few minutes.
Shout Outs:
Gotta give a ton of love to Josh, Mychal for their work on this, and Bret for playing producer, and masterfully editing the recap video..
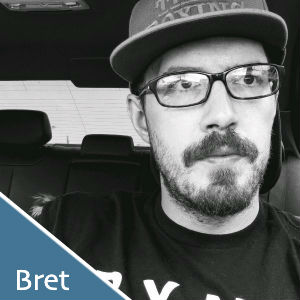
If you are interested in seeing more of Bret’s video production and editing skills I recommend checking out his YouTube channel. His last couple videos have been on fire.
(Oh, and for the dog people among us, here’s a 4-minute masterpiece he edited together using clips Sara and I shot with our cell phones during our road trip last month.)
I mentioned the tools we used above, but having the right people on your team is a huge factor in the success of any project. Happy to vouch for those three dudes if you find yourself needing any of their respective talents.