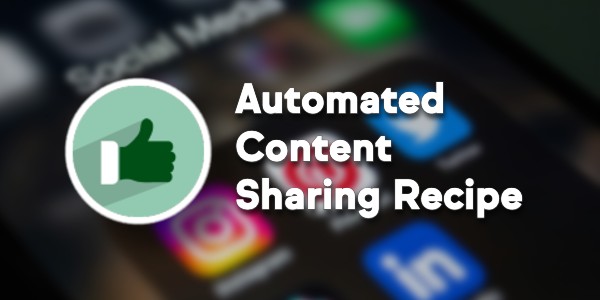
Automated Content Sharing Recipe
Ever feel like you’re creating strong content, but it’s not getting the attention it deserves? Yeah—same.
I think this dynamic affects most everyone who produces content – we know what we’re putting out is valuable, but for any number of reasons it might not be reaching the people it can really serve.
One of the ways we try to squeeze a little extra mileage out of the stuff we publish is by making sure it actually gets posted to all of our social channels. In this video, I’ll break down the exact automation recipe we use to share new Monkeypod content—mostly YouTube videos and blog posts (like this one)—out to our different social channels.
It’s a simple formula that runs through Zapier, but it helps us stay visible, consistent, and efficient.
This simple setup helps us get more eyes on the content we’re already creating—without adding a bunch of extra work to the pile.
While I demonstrated it using Zapier (because that’s what we use), you could totally build a similar system with other automation platforms like Pabbly, Make, n8n, or whatever tool fits your stack.
The real takeaway here is that a little bit of automation can go a long way in making sure your content actually gets the attention it deserves.
And as an added benefit, it helps keep your social channels from going stale if you aren’t regularly publishing new material. Happy sharing.
Looking for Ideas?
This was a fairly unique automation use case – but these types of scenarios are all over the place. If you aren’t sure where automation would fit – we’ve built a course specifically designed to help you identify those opportunities.


![Email Engagement Tracking [inside Keap]](https://www.monkeypodmarketing.com/wp-content/uploads/2024/01/email-engagment-blog-title-1080x675.jpg)