Creating Certificates with Zapier
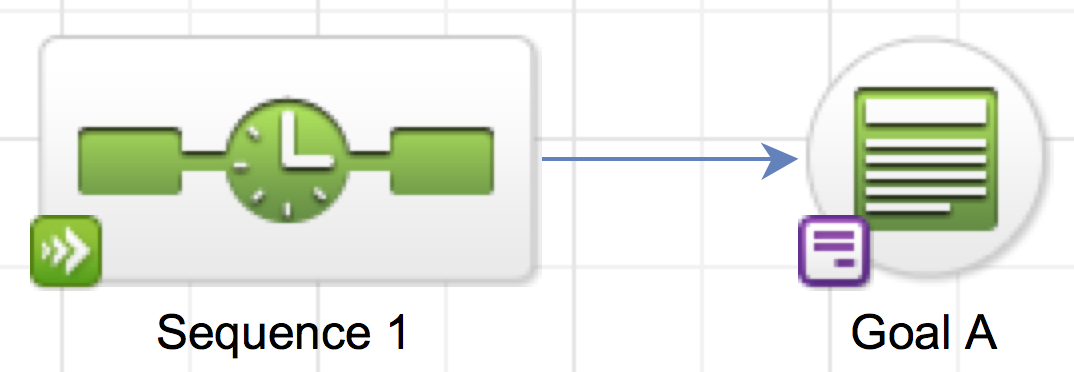
Like this one:

Cool, let’s do this.
(Special shout out to my homie Kelsey Bratcher, from Hired Gun Solutions, for teaching me this one.)
Tools You Need
1. Infusionsoft (paid)
2. Zapier (paid)
3. Google Slides (free)
General Flow
Infusionsoft will trigger the zap with an HTTP post, then Zapier will use an existing Google Slide Deck as a “template” and create a PDF for the certificate, and pass the URL for that certificate back to Infusionsoft, and then you can send an email to the contact with the link to their shiny new certificate.
Specific Flow
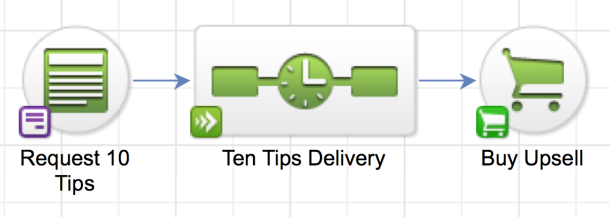
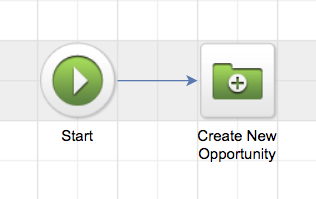
Here’s the campaign:

Just Show Me
Fine, get in here.
Step-by-step Instructions
2. Create a campaign that starts when you want the certificate created (like when a course is completed), and then a sequence with an HTTP post.
3. Create a Zap that is triggered with a webhook.
4. Add that webhook URL from the Zap to the HTTP Post in the sequence. Make sure to send email, and any other fields you may want to merge into the certificate.
5. Send a test post to Zapier WITH values, not just merge fields.
6. Set up a google slide – design it to look however you like, and use the following format for fields you want to merge in, like name, date, course, etc: {{name}}
7. Add a step to your Zap that create a slide from a template, and choose the google slide deck you created in step 5.
8. Map the fields from your HTTP post to the merge placeholders you set up on your slide.
9. Add a step to the zap to update a contact record, and map the export/PDF URL to the custom field you created in step 1, and add the tag you created in step 1 also.
10. In your campaign, add a tag goal after the HTTP post sequence listening for the “Certificate Ready” tag.
11. Add a sequence after the tag goal, with an email in that sequence, and the merge field for the “Certificate URL” so that the contact can download it.
AccessAlly Method
Here’s a tutorial on how AccessAlly handles this.