Infusionsoft Name Change

Infusionsoft Name Change

You may have heard the rumors that Infusionsoft is changing their name, and yes, it’s true – it’s finally out the in open.

What’s Infusionsoft’s new name? (drumroll please….)

Infusionsoft’s new name is Keap

The company is rebranding and the new name will be Keap. Here’s the official news from the mothership.

Here’s a peek at the new logo:

Need training on Keap?

Introducing the The Keap Starter Kit – a foundational course covering both technical and strategic concepts for Keap users. This course is designed to cover all the things you didn’t know you needed to know. Check it out here.

Let me see if I can answer some of the most natural questions that this announcement might raise.

Okay, so why rebrand?

The official company statement is that Keap represents the very essence of the grit and passion small businesses put in each day to keep going, keep serving and keep growing.

After being Infusionsoft for 17 years, they felt it was time to change their name to better reflect their mission to help millions of small businesses succeed.

How does this affect me?

It may not affect you at all.

The first thing I want to be clear about is that the existing Infusionsoft software that most of us know and love is still going to be called Infusionsoft.

Over the last year or so, since the introduction of “New” Infusionsoft there has been some confusion in the Infusionsoft ecosystem around the two platforms, which was which, and what the key differences were.

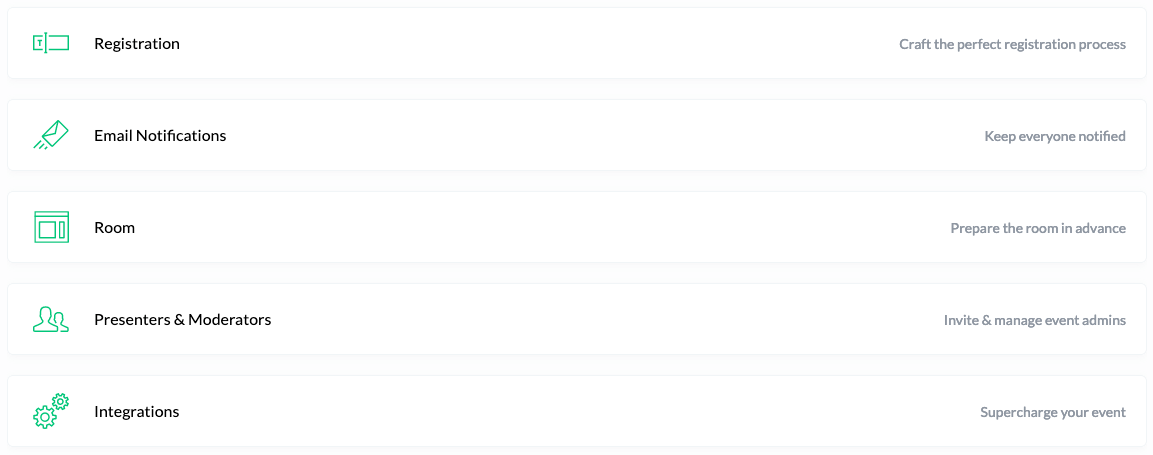
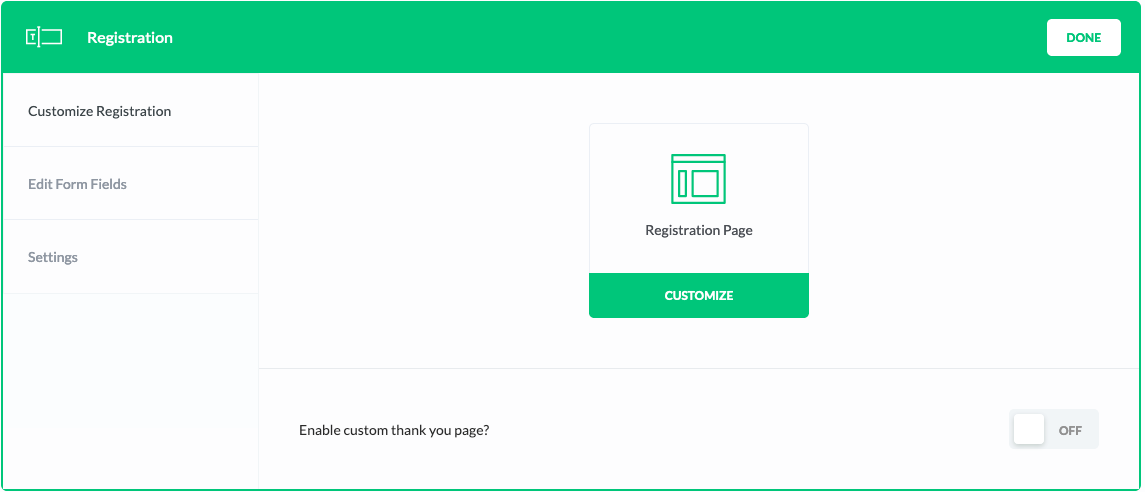
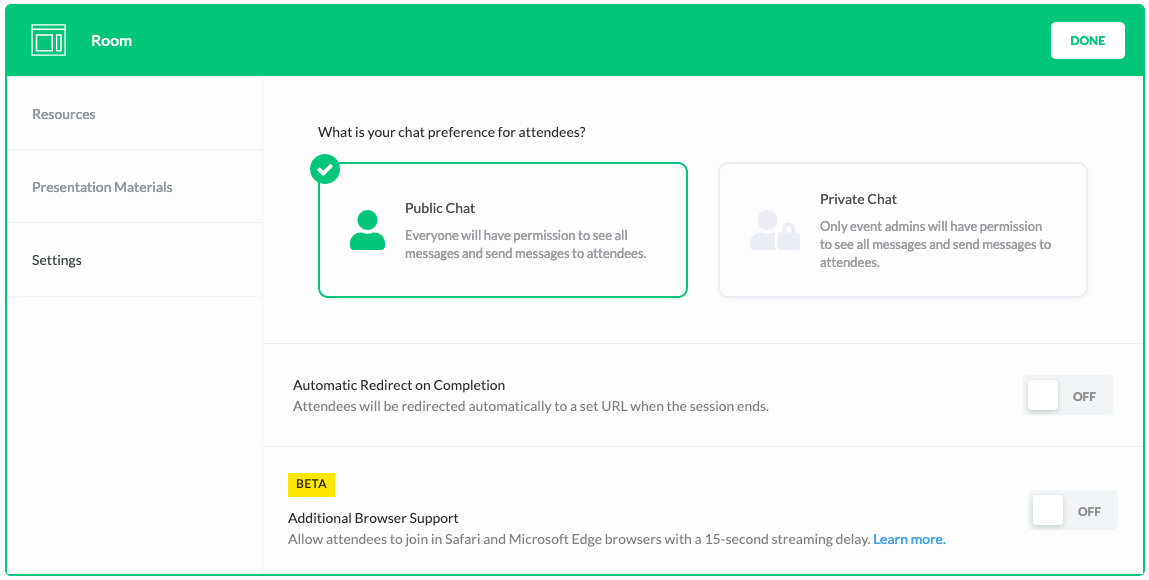
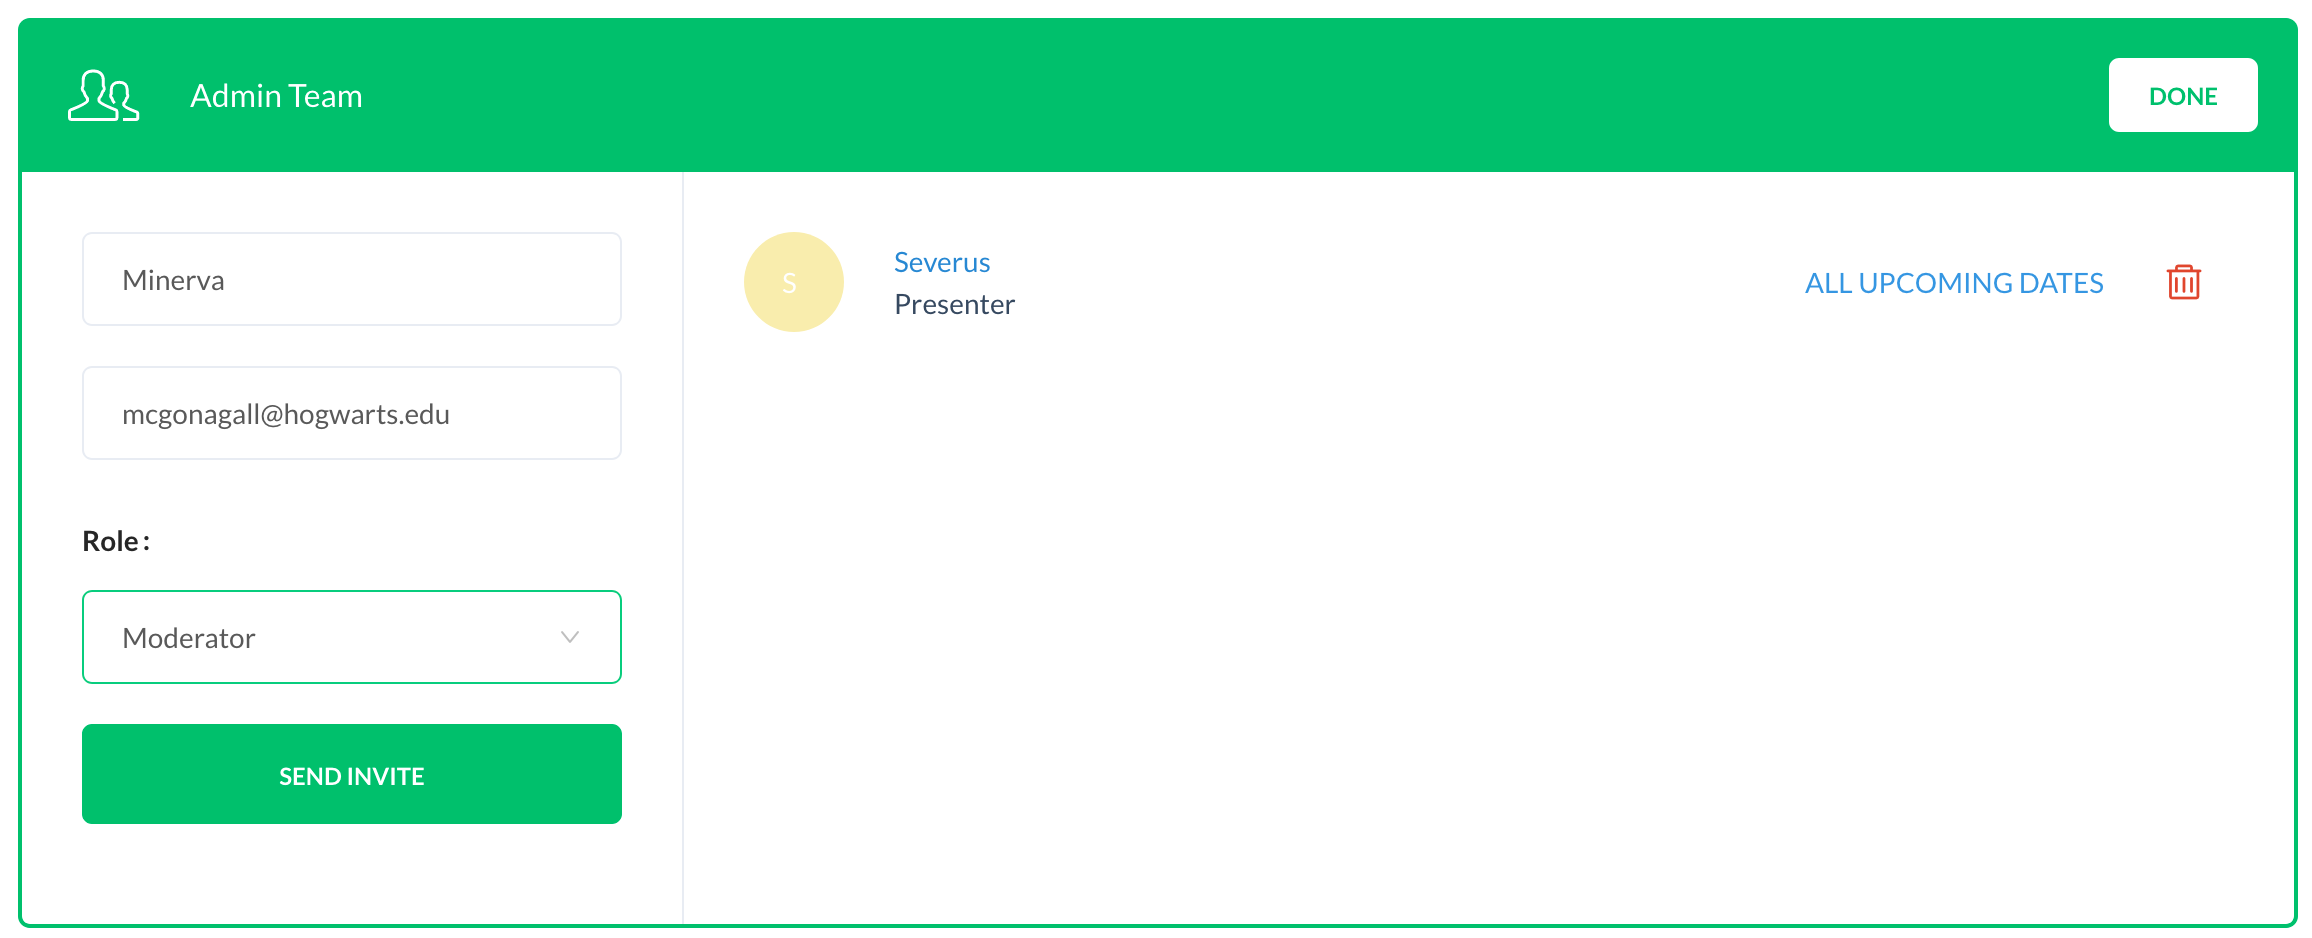
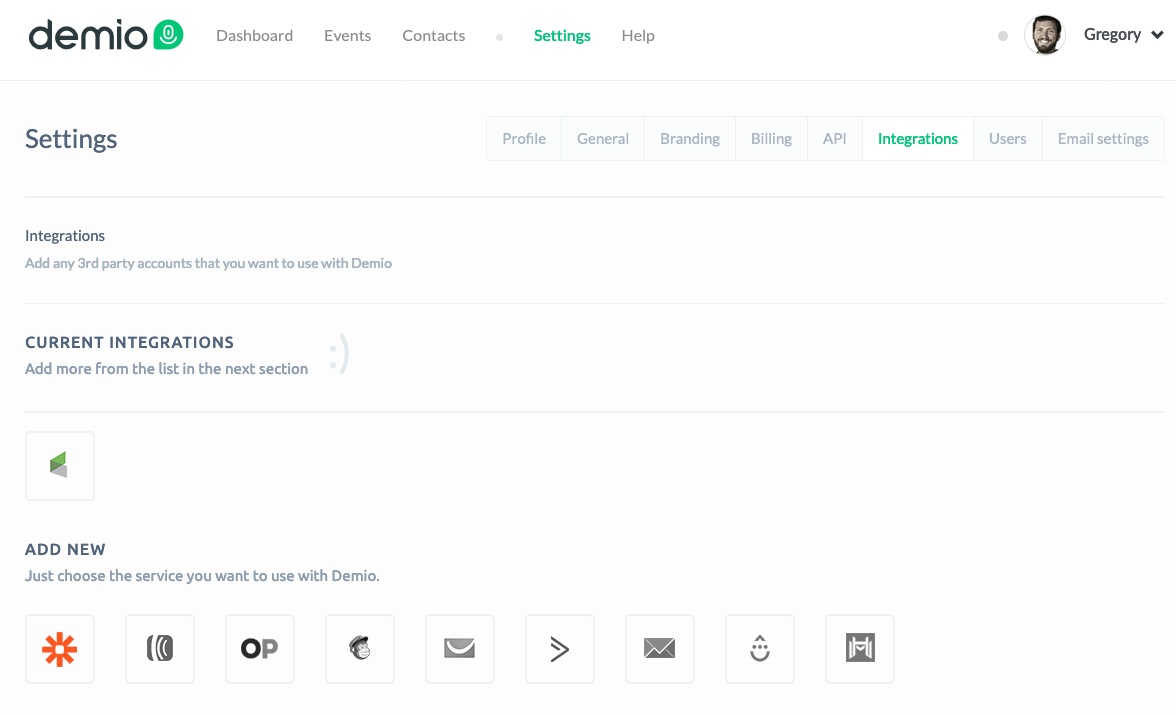
Take a look at this image – which side looks more like your account?

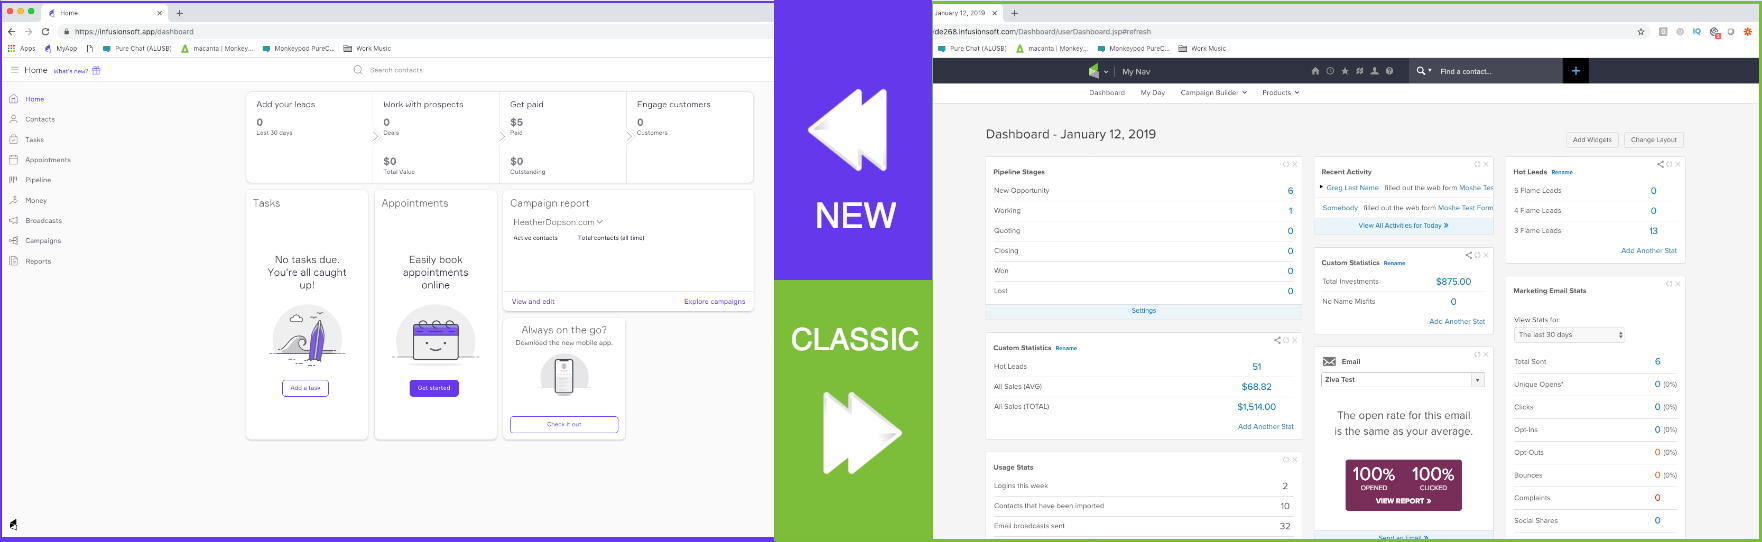
If your dashboard looks like the one on the left, then you’ve been using “New Infusionsoft”.

If your dashboard looks like the one on the right, then you’ve been using “Classic Infusionsoft” (also known as “Pro”).

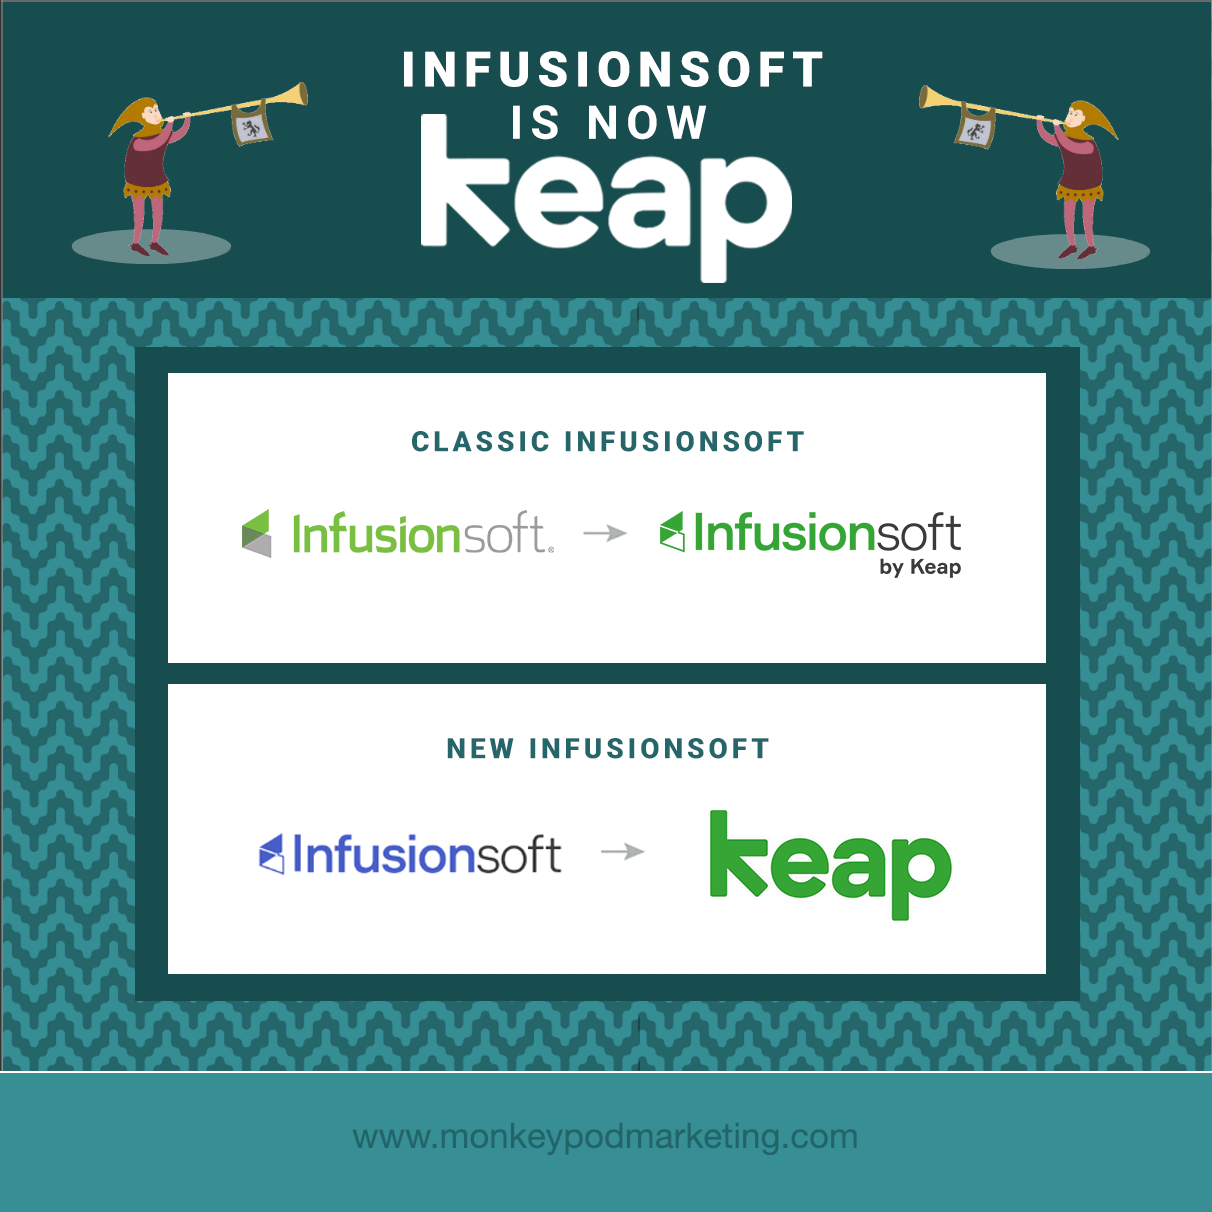
But, what names are actually changing?

New Infusionsoft is rebranding to “Keap”.

Classic Infusionsoft is simply changing to to “Infusionsoft by Keap”.

So the company, now called Keap, will have two products:

  1. Keap
  2. Infusionsoft by Keap

Clear as mud? Good.

Lemme see if this graphic clarifies:

What does this mean for existing users?

For Keap Customers (formerly New Infusionsoft):

  • You’ll see a whole new look with new colors. Your current application will be refreshed with its new name, Keap, along with the colors inside the application.
  • Your monthly invoice will now come from Keap, the company.

For Infusionsoft by Keap Customers (formerly Classic Infusionsoft):

  • You’ll see a new Infusionsoft by Keap logo inside (the branding center). You can continue to use the product as you have been, with no interruptions to your business.
  • Your monthly invoice will now come from Keap, the company.

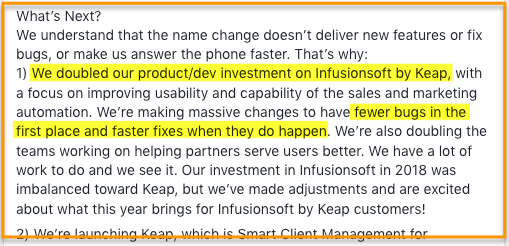
Perhaps the most exciting thing I’ve read with regards to the rebrand is this statement from co-founder Scott Martineau, where he owns some of the missteps over the recent past and commits to renewed focus on the existing software moving forward. (Source)

More FAQs

Was Infusionsoft purchased?

Nope. It’s a fair question though, I’ve heard this one a few times. Infusionsoft decided to change to Keap because they hope it better represents who they are and what they do for small business.

Is that a typo? Why "Keap" and not "Keep"?

Another good question – the simple answer is that going with “Keap” made it more unique. It means it stands out more easily, and gives them the ability to trademark it, and claim unique domains and social handles.

Also, come on – weird spellings are all the rage (Lyft, Netflix, Reddit, etc).

Do you offer a course on Keap?

I’ve partnered with Brian Keith of Red Beard Consulting to launch a course on Keap, The Keap Starter Kit.

It’s a foundational course – covering both strategic and technical concepts to help Keap users understand and maximize the way they use the Keap platform.

If you know anyone who this course might benefit then check out the Keap Starter Kit Affiliate program here.

Will the login screen change?

When Infusionsoft becomes Keap, they will change the log-in screen. But don’t worry, customers can use their current username and password and they will be placed into the right product.

How will the name change affect existing APIs?

All APIs will be unchanged.

If you notice difficulty or inconsistencies with your API connections then report that as quickly as you can – but there are no anticipated adverse effects.
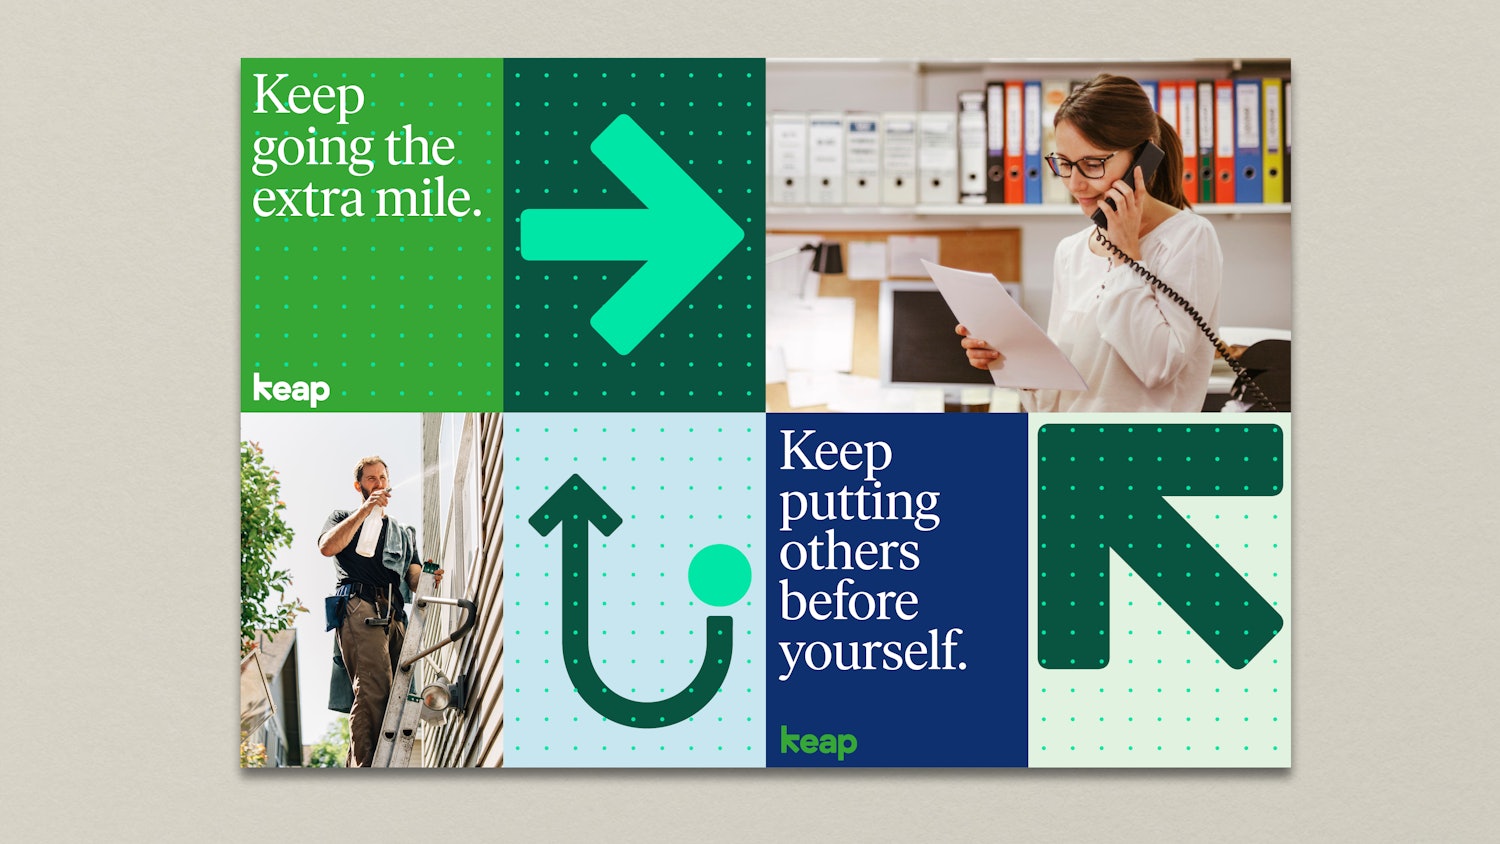
Branding and Logos

Keap, formerly Infusionsoft, worked closely with Pentagram to develop the new brand identity. The details of the project are here, but this is a quick summary:
“Built into the geometry of the wordmark is a hidden arrow, an apt symbol for what Keap does. The identity is part of a comprehensive system that includes brand architecture, messaging and tone of voice, typography, color, graphic language, motion, photo and video art direction, and environmental graphics.”

My two cents:

Let me start by saying that Infusionsoft doesn’t need my permission to do anything – obviously. So the following is literally just one guy’s opinion on the matter:

Honestly, I was kind of taken aback when I first heard that Infusionsoft was changing their name. I was frustrated, annoyed even – I felt like there’s so much that the product itself needs and the name is just, well, it’s just a name.

But hearing Clate and Scott talk openly with the Infusionsoft Partner community about the rebrand helped me change my perspective.

They talked about the renewed focus on the products they have, how the new name marks a new chapter in the ways they can serve the small business community – and they shared how the meaning behind the new name is rooted in the early, and challenging days of their own entrepreneurial story.

The truth is that while Infusionsoft, the software and the company, has had a huge influence on my life and on me as a person – the core values that resonated so clearly with me when I was first hired are still guiding the organization today, just under a different brand name.

Oh, and I’m really excited that the two platforms will have different names. I think clearly differentiating the two versions of the software will help users find the answers, support, and resources they need more easily.

Interview with CEO Clate Mask

Promo Video: Quiet the Doubters with Keap

The new website, Keap.com is now launched and live – and I’m particular impressed by this powerful promo video.

 Here’s what people are saying about the name change:


When I think about small business, I think of the family that depends on that business making it. It can be difficult and, often, downright painful to weather the daily struggles.

While our purpose to help them succeed has been empowered by the Infusionsoft product, many small businesses simply aren’t ready for it. But, no more.

Keap is meeting these amazing people where they are and making success more accessible to them, and the families and communities that depend on them. We are changing lives in very meaningful ways – and that’s the most exciting thing about what we’re up to at Keap!

Matt Vosburgh

Senior Partner Trainer, Keap (formerly Infusionsoft)

What I’m most excited about with the name change how Infusionsoft can (finally) start to differentiate their 2 products.

Infusionsoft by Keap is a time-tested and battle proven powerful tool for small businesses that are ready and need that level of power. For those business just getting started on their automation journey, Keap is a powerful tool to get them a lot of the same benefits they’d get with Infusionsoft – without the headache and hassle involved in a complex custom setup process.

Keap will do for small businesses going down the automation path what MailChimp has done for small businesses looking to add email marketing.

Jordan Hatch

Founder, Infusionsoft Partner, Fullstack Marketing

The new brand name helps emphasize the importance of small business owners and what we want to help them do: keeping it all together.

As many small business owners can empathize, it’s difficult keeping all the plates spinning and that’s where we want to help ease that burden.

Andrea Kitchen

Senior Product Manager, Keap (formerly Infusionsoft)

It’s a new name, which is cool, and probably really meaningful to some folks – but what I want is a renewed focus on making the product, both products, world class.

Name changes notwithstanding I’m going to keap helping my customers make the most out of automation

Mallory Balnis

Founder, Infusionsoft Partner, Plum Crazy Automation

Related articles from the ecosystem:

Infusionsoft Unveils New Platform – from the Keap product blog

Infusionsoft Changes Name to Keap Q&A [Video} – from Box Out Marketing

Infusionsoft vs Keap (What you need to know) – from the Automation Ninjas

Keap Review and Walkthrough – from the Automation Ninjas

Infusionsoft se convierte en: KEAPUn artículo para los clientes hispano hablantes, from Geni Ramos

Keap branding and logos – from Pentagram

Launching a Webinar with Demio (and Infusionsoft)

Launching a Webinar with Demio (and Infusionsoft)

Even with as rapidly as marketing technology seems to evolve, webinars have held onto their relevance.

Good on ya, webinars.

From time to time I get asked about my preferred software for running webinars, and over the last few years my answer has varied – but lately, I’ve been using (and recommending) Demio.

There are a lot of options out there, but I use Demio because it’s an intuitive platform that allows you to quickly and easily (like, really easily) host live webinars – and just a few months ago they introduced an option for automated webinars as well (more on that here).

This blog post is a step-by-step guide to launching a live webinar with Demio – and integrating it with Infusionsoft for automated follow-up.

Live Webinar Set Up

Step 1: Log into Demio – from the events page you can see any live (or automated) webinars you currently have scheduled.

Step 2: Click the “Add New Event Option” and select the type of event you want to create (for this example, we’re creating a live webinar)

Step 3: Give the webinar a name – this needs to be at least 5 characters and will be visible to customers.

Step 4: Select whether this is a recurring webinar, a webinar series, or a one-time event.

Recurring: A recurring webinar happens regularly at the same schedule, and you can allow registrants to register for a single event, or for the entire series. For this option you can also choose how many of the upcoming sessions you want to be available at a time.

Webinar Series: For a webinar series you’ll choose the specific calendar dates you plan to deliver the webinar, and again, registrants can either register for the entire series, or for a individual session. For this option you can also choose how many of the upcoming sessions you want to be available at a time.

One Time: For a one time event you’ll choose the date and time you want to host the webinar. (For this blog post we’ll set up a one-time event.)

Once you click “Continue” you’ve defined all the mandatory settings – you can click “Save and Finish” and your webinar is technically ready to go.

At this point Demio gives you a registration link to a bare bones registration page – and you’re ready to start signing folks up.

There are more settings I want to cover, but to Demio’s credit, their default registration pages are actually pretty clean and simple. That’s one of the things that I liked about Demio early on – most of their features are pretty usable straight out of the box.

Like what you see? If you’re planning to use Demio for your own biz then by all means, use my affiliate link and score me a free month.

Additional Options

Okay, like I said, if what you need is a quick and dirty webinar then you’re pretty much done, but let’s take a look at the additional options Demio offers for further customizing your webinar.

Registration: The registration section allows you to either customize the default registration page (when you go live with your webinar you also will have options for embedding a registration widget on your own page).

As I said earlier, the registration pages by default are pretty clean and elegant – but there are a handful of settings you can use to add a description or a video, change the background image, showcase presenter details, and generally customize this page.

Or, if you don’t like the demio pages (or want to host the registration on your own URL) then you can use the Demio embed options.

I’ve used this a handful of times and found it to be really straightforward – basically you select whether you want an inline embed (which is the form directly on the page) or, a popover embed (which is a button that pops up a little registration window) – then copy the code and add it to the page of your choosing (works with Infusionsoft Landing Pages, LeadPages, WordPress, etc).

Update: The option for embedding the registration form on your own page has been moved, it’s now available on the “Share” tab where you’d find the stand-alone registration link.

Email Notifications: Demio has four built in email notifications that you can individually toggle on or off. There is an option to edit portions of each email, but some of the registration details are fixed. As of right now there aren’t options for modifying the schedule of these emails.

Room: This section allows you to define whether you want chat to be public (attendees can see one another’s comments) or private (they, uh, can’t).

The second setting is where you define the URL you’d like people to be directed to once they complete the webinar – this is ideal if you’ve created a dedicated page for this event with a relevant call-to-action, summary of the content presented, or next action steps.

Currently Demio supports Firefox, Chrome, and Internet Explorer – the final setting in this section (currently in beta) allows for attendees to join in Safari and Microsoft Edge browsers (with a 15-second streaming delay). More on this feature here.

On the left hand side you’ll see tabs for “Resources” and “Presentation Materials”, this is where you can upload resources you intend to give away during your presentation (worksheets, downloads, etc) and slide decks or videos you will use during your webinar.

Presenters and Moderators: This is where you can add additional presenters and moderators to your webinar. If you’re adding admins to a webinar with more than one session you’ll be able to designate which session you want to invite them to. Finally, I don’t foresee this being an issue, but there is a limit of 15 total admins on your webinar.

From your settings tab you should see an Integrations section – this is where you have the option to connect Demio with a number of third party services. I use Zapier and Infusionsoft, but Aweber, Ontraport, MailChimp, GetResponse, ActiveCampaign, ConvertKit, Drip and Market Hero are all available as well.

Integrations: On the integrations tab you should see any third-party options you’ve enabled, and then you’ll be able to toggle them on or off. For the Infusionsoft integration it allows you to select what Tag you’d like it to apply when someone registers, and then tags it should apply or remove when someone attends, or does not attend the webinar.

You may have also noticed the Save Join link feature – this allows you to add the registrants unique Join Link to one of your Infusionsoft Custom Fields. So, if you don’t like the Demio email reminders this would allow you to send your own using Infusionsoft’s campaign builder.

Oh snap, almost forgot: Demio also offers a one-click registration link that you can use to invite your existing subscribers to the webinar – this allows them to easily register without having to reenter their information.

Once they click they’ll automatically be taken to the default thank you page, or the custom URL you defined instead.

Custom Code – if you need to add tracking code, or a pixel of any sort, the integrations section also has an option for custom code. You can add multiple code snippets and select the page for each (registration, thank you page, webinar room, or replay page).

So, that’s demio in a nutshell.

It’s clean, it’s simple, and it does pretty much everything I’d want from a webinar platform.

If you’re looking for a webinar tool then for the time being this one has my vote – check it out, and use my referral link so I get that sweet, sweet commish.

What about Automated Webinars?

Demio recently launched automated webinars – they’re pretty slick, but it is a relatively new feature, so it doesn’t have all the same options and settings as the live webinars.

If you’re interested in launching an evergreen webinar then you’re gonna want this 10-step launch list.

The easiest way to learn about automated webinars is probably by experiencing one, and what do ya know I’ve gone ahead and created an automated webinar about automated webinars where I walk you through the whole dang process. Check it out:


Update: In December 2020 Demio released an update that allows you you to easily swap the video you’re using for your automated webinar. That means your content can be updated without having to rebuild the entire automated webinar experience.

Integrating Divi with Infusionsoft

Integrating Divi with Infusionsoft

This post is about integrating Divi and Keap.

Divi is a theme for WordPress websites.

Keap (formerly known as Infusionsoft) is a CRM and marketing automation platform (obvi).

The ability to easily capture leads on your website and reliably add them to your database is paramount; and for Divi users I recently discovered that there is a way to do this without needing any third party tools.

(Update: Apparently I’m a liiiiiittle late to the game and this feature has been available since Sept 2017. Oops.)

First, you select the “Email Optin” Module:

You’ll set up the settings for that module, like the opt-in description, the call-to-action button, and design the look and feel.

If this is your first time using this feature you’ll want to connect it to your Keap Account(s).

Then you choose Keap (or Infusionsoft) from the list of 20 different email service providers, and select which tag you’d like it to apply to contacts who submit this form (the tag is important because it’s how you’ll segment these contacts, or trigger automation).

That’s pretty much it.

Once you’ve got it connected to your Keap account you can drop these opt-in forms all over your web site.

Check it out:

It’s worth noting that this opt-in doesn’t have much flexibility in terms of what information you collect. Your options are First Name, Last Name, and Email address.

But for simple lead capture this will work just fine.

Edit: So, apparently you can add custom fields to your opt-in forms this way. For some reason this feature appears to only be available using the visual editor; so I didn’t notice it at first.

Big thanks to Ben for bringing this to my attention in the comments below!

Direct connections like this are important because it reduces your/my/our dependency on integrations.

Integrations are inevitable, but the more you have the complicated it can be to keep them all current; and the more risk you have that things will break when one of them updates and suddenly doesn’t play so nicely with the others.

Not only does it make it easier to maintain, but it also simplifies troubleshooting as well.

I know there are an infinite number of themes out there to choose from, but if you (or your clients) use Divi, I wanted to make sure you knew about the methods for integrating Divi and Keap.

How to talk to Infusionsoft Support

How to talk to Infusionsoft Support

Keap support doesn’t have the best reputation.

Some might say it’s terrible even.

And personally, I’m not proud of the role I’ve played in that reputation, because I honestly think it’s unfounded and based on presumptuous assumptions (consonance alliteration ftw). More on that in a second.

I always get what I need when I connect with Keap support. Always.

I always walk away from the experience satisfied with the outcome. Always.

And now I’m going to tell you how I manage that. But first, some obligatory exposition. 🙂

In my decade+ of dealing with Keap, I’ve only been disappointed in support when I expected them to be something that they aren’t (and let’s be honest, never have been) – experts in everything having to do with everything.

Keap support don’t know everything about everything. In fact, some interactions may make us feel like they don’t even know very much about Keap. As frustrating as that may seem, that is not the reason why we have trouble getting what we need from them.

The real reason is that we already know they don’t know everything, but we go ahead and act like they do (or at least should) when we call them. No wonder we’re always mad at them.

How to Work with Keap Support

Step 1 – Don’t

We all know that Keap is not the best resource for simple how-to questions. That’s not to disrespect Keap – quite the contrary; it’s virtually impossible for an entry level employee of any company to have enough context from enough industries and businesses to be capable of giving advice on specific setup questions.

Instead of calling Keap with a question that we know they probably can’t answer, why not turn to one of the plenty of other (free) resources available to get questions about implementation, strategy, or functionality answered? There are plenty of Facebook communities teeming with business owners and seasoned experts that can provide more applicable answers in realtime.

Step 2 – Prepare

Online communities can help with just about everything when it comes to Keap, but still there is the occasional situation where the issue you’re running into can only be explained as a “bug in the software”. Most of the time, frustrated business owners will call Infusionsoft support and the first thing they say is, “There’s a bug in the software.”

That is not an effective technique. A support rep can’t do anything with that. And the minute they start to feel you getting upset or angry or frustrated, it will put them on the defensive. And a defensive support rep is an unhelpful support rep. Get ready for disappointment if that’s the route you choose.

Here is a list of things that you should have prepared before you call or join chat support:

  1. Your appname
  2. Your security details (they can’t help you if you don’t have this)
  3. The name and id of the affected feature (e.g. Marketing Campaign, id 123)
  4. The exact steps that you took that caused the issue
  5. The exact steps that you took trying to replicate the issue
  6. Whether you were able to replicate the issue
  7. Screenshots (of everything)

I like to do all of this in one shot by recording a screencapture video of me duplicating the error.

Step 3 – Empathize

As difficult as it can be to swallow your pride, empathizing with the support rep will always result in a better experience. Going into the call with the understanding that the individual on the other end is not responsible for causing or fixing your issue will keep you from taking your frustration out on the rep, which, again, is simply ineffective.

But if you take that one step further, and type these exact words while the support rep is looking into the issue, that rep will go above and beyond for you:

“Thank you so much for your help. I understand this is in no way your fault, and I appreciate you taking the time to help me. If you sense any impatience or frustration, please don’t take that as frustration with you personally.”

Think about it – support reps only deal with 1 type of person – a frustrated person.

If you set yourself apart from that and recognize them as an individual, a human, and not just a cog in a bigger machine, they will make it their personal mission to help you.

Keap support aren’t perfect, but if you approach the interaction correctly, you never have to walk away from the interaction feeling like the end of the world is nigh. With a little bit of preparation and a slight mindset shift, you can get so much more out of it and end up actually satisfied with the result.

Imagine that.

Editor’s note: If you liked this, tell the world (and Bret) on twitter.

Editor’s other note: If you’re looking for more suggestions for getting the most out of your support channels, check out the tips from this article written by another former Infusionite.

What’s the deal with hidden fields?

What’s the deal with hidden fields?

Alright, what’s the deal with Infusionsoft hidden fields? (please read that while doing a Jerry Seinfeld impression)

They (hidden fields) are available as an option when you’re building old school landing pages or web forms in Infusionsoft.

Note: This post was written when Keap was called Infusionsoft, and is focused on using hidden fields in the campaign builder – which is available in the Pro, Max, and Max classic versions of Keap.

Check it out:

They’re available in Keap’s landing page builder too, but it’s a little different there. For that one, you add the form and fields, then you can toggle yes/no for hidden on a field-by-field basis.

But what ARE Hidden Fields in Keap?

They are just fields – hidden fields are like regular fields. They still collect information, right?

…but, they’re hidden, which means the person filling out the form can’t see that they’re there.

Er, say what?

Yeah, it can be a little tricky for people to wrap their heads around.

Here’s the deal – they’re most useful for receiving info that is passed to the page, normally this happens in the link that leads somewhere there.

Lemme show you three common use cases for hidden fields:

Real World Example

Here’s a real world example of how you can use a hidden field on a web form (or landing page) to capture new information or clean up your list:


Creating Certificates with Zapier

Creating Certificates with Zapier

I’ve put this one off for way too long, so let’s get right into it. I’m gonna show you how you can build a 100% automated process to create certificates and send them to people.

Like this one:

You can see why it might be useful to generate those without lifting a finger, right?

Cool, let’s do this.

(Special shout out to my homie Kelsey Bratcher, from Hired Gun Solutions, for teaching me this one.)

Tools You Need

1. Infusionsoft (paid)
2. Zapier (paid)
3. Google Slides (free)

General Flow

Infusionsoft will trigger the zap with an HTTP post, then Zapier will use an existing Google Slide Deck as a “template” and create a PDF for the certificate, and pass the URL for that certificate back to Infusionsoft, and then you can send an email to the contact with the link to their shiny new certificate.

Specific Flow

Here’s the campaign:

Zapier Certificates

Just Show Me

Fine, get in here.

Did ya catch all that? Here’s the step-by-step.
Step-by-step Instructions
1. Create a custom field (website type) in Infusionsoft to store the Certificate URL, and a tag called “Certificate Ready”.

2. Create a campaign that starts when you want the certificate created (like when a course is completed), and then a sequence with an HTTP post.

3. Create a Zap that is triggered with a webhook.

4. Add that webhook URL from the Zap to the HTTP Post in the sequence. Make sure to send email, and any other fields you may want to merge into the certificate.

5. Send a test post to Zapier WITH values, not just merge fields.

6. Set up a google slide – design it to look however you like, and use the following format for fields you want to merge in, like name, date, course, etc: {{name}}

7. Add a step to your Zap that create a slide from a template, and choose the google slide deck you created in step 5.

8. Map the fields from your HTTP post to the merge placeholders you set up on your slide.

9. Add a step to the zap to update a contact record, and map the export/PDF URL to the custom field you created in step 1, and add the tag you created in step 1 also.

10. In your campaign, add a tag goal after the HTTP post sequence listening for the “Certificate Ready” tag.

11. Add a sequence after the tag goal, with an email in that sequence, and the merge field for the “Certificate URL” so that the contact can download it.

AccessAlly Method
I recently started using AccessAlly and learned that AccessAlly also has a built in feature for certificates (under the ProgressAlly features). Personally, if I decide to start offering certificates I think I’ll probably use this route because it keeps everything nicely organized within the membership area.

Here’s a tutorial on how AccessAlly handles this.